Making your own all-natural mineral makeup is easier than you think. With just a few ingredients, you can match any skin colour, and you can do it without harsh chemicals. Not only is it easy, but it’s also fun and very cost-effective. The ingredients you use are inexpensive and go a long way. You can purchase the ingredients individually or get a Natural Mineral Makeup Kit with everything you need to start, and a great instruction booklet.
There are a few reasons I make my own cosmetics.
- I don’t want to harm my skin with harsh chemicals. I have sensitive skin and have had problems with store-bought cosmetics causing skin irritation.
- I care about the environment and know that whatever I buy and use eventually ends up in the environment. By making my own cosmetics, I get to use natural ingredients that have no negative environmental impact.
- Cosmetics are generally overpriced. There is a huge markup on cosmetics, and call me cynical, but it might be because they are marketed to women. I call it the pink tax. According to Wikipedia, “The pink tax refers to the tendency for products marketed specifically toward women to be more expensive than those marketed toward men. This phenomenon is often attributed to gender-based price discrimination, whose name stems from the observation that many affected products are pink.”
- It’s just fun.
Making my own cosmetics was my way of fighting back against the high cost and possible harm done to me and the planet, and I was still able to have makeup when I wanted to. Let’s take a look at the ingredients we will be using.
You will start with these three ingredients to make a mineral makeup base, which you can then customise to your skin colour.
Mineral Makeup Base Recipe
- Four teaspoons of Kaolin Clay
- Two teaspoons of Titanium Dioxide
- Two teaspoons of Zinc Oxide
You will end up with six teaspoons. You can mix these ingredients in a small plastic bag or a small jar. This is your base and, at this point, will not match your skin. This is what you will add colour to until you match your skin. Once these are mixed, you are ready to add your colour. The ingredients used to colour your powder are:
Which of the above oxides you will use, and how much, will be determined by the colour of your skin. The instructions booklet with the Natural Mineral Makeup Kit contains recipes to get you started for various skin tones. These are starting points only and will need individual customisation. For example, if you have very fair skin, you would start with the previously mixed six teaspoons of powder and then add colour as follows:
Very Fair Skin
- Six teaspoons of mineral makeup base
- 1/16 teaspoon of yellow iron oxide
- 1/64th teaspoon of red iron oxide,
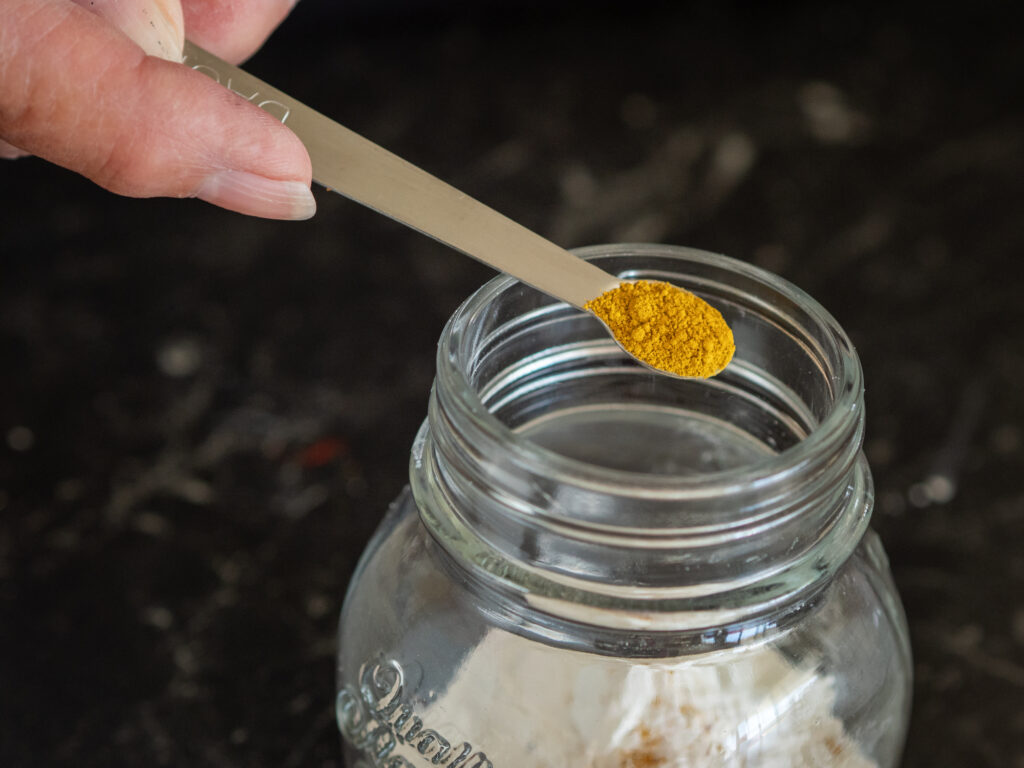
Use the mini measuring spoons that come with the kit. You would not need brown or black iron oxide for very fair skin.


However, the darker your skin, the more colour you add. For example, I have beige skin with pigmentation/freckles. I am also outside in my garden frequently, so I pick up a tan. My starting recipe would be:
Beige Skin with pigmentation/freckles or tans well
- Six teaspoons of mineral makeup base
- 1/4 teaspoon yellow iron oxide
- 1/16 teaspoon red iron oxide
- 1/64 teaspoon brown iron oxide,
using the mini measuring spoons that come with the kit.
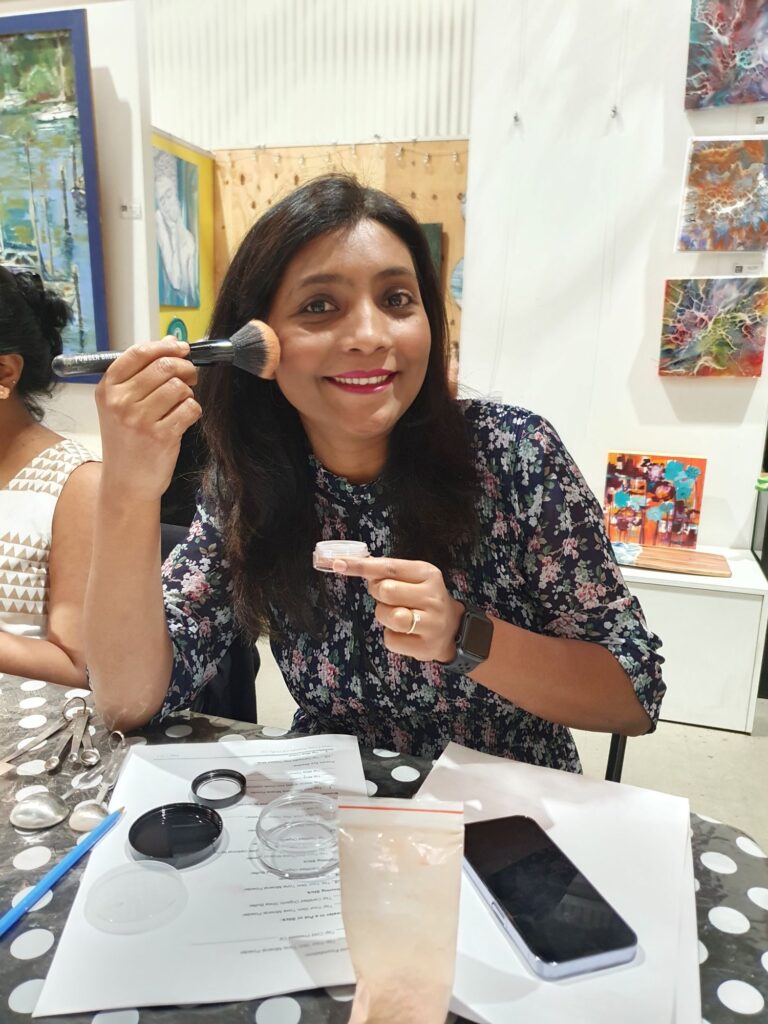
A few weeks ago, I taught a class, and there were ladies there with beautiful olive skin, and their recipes used even more colour. An example of an olive skin recipe would be:
Deep Olive Skin
- Six teaspoons of mineral makeup base
- 1/2 teaspoon yellow iron oxide
- 1/2 teaspoon brown iron oxide
- 1/64 teaspoon red iron oxide
- 1/6teaspoon black iron oxide
using the mini measuring spoons that come with the kit.
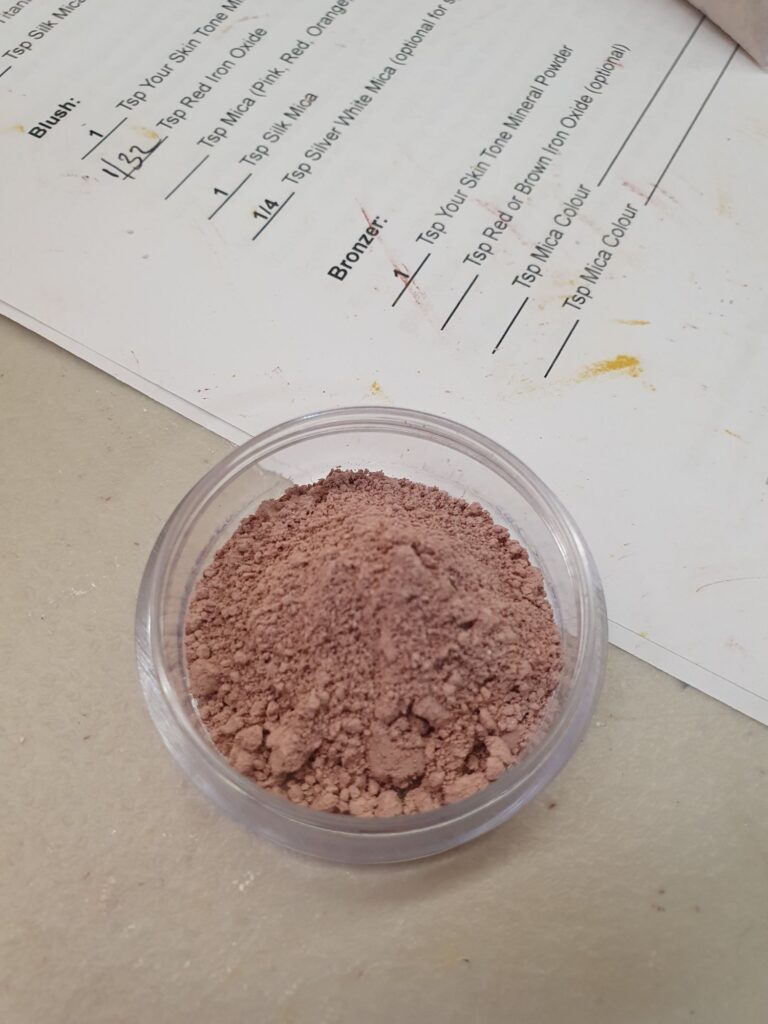
In each case, the suggested recipes are just the starting point. Once you have mixed up the coloured mineral makeup base, it is time to test it on your skin. Test it on the inside of your arm, as it will be close to your face’s colour. Don’t test it on the back of your hand, for example, as hands get much more sun. Add extra red, yellow, brown or black iron oxide to achieve a match. When you are happy with the colour, try it on your face and adjust as necessary. Using myself as an example again, I followed the Beige with Pigmentation/freckles recipe and then tried it on my skin. I noticed that the powder looked a little pink compared to my skin. Another way of saying it is that my skin looked a little yellow compared to the powder. So I added a little more yellow iron oxide and got a match.


Once a match has been achieved, add the last ingredient, two teaspoons of silk mica. This makes your mineral makeup powder silky-smooth and glides onto your skin, feeling wonderful. The great thing about mica is that, once again, it is natural.


This is not difficult to do. It just takes a little practice, and the best way to learn is to get in and give it a go. You can read, listen, and watch, but nothing will teach you how to do this better than mixing up some colours and putting them on your skin. What does it look like? Too yellow, too pink, too light, too dark? To pink, add yellow; too yellow, add red; too light, add brown; in some cases, add black for darker skin. And if it all goes wrong and you have to start again, no problem, the cost of the ingredients is low.
I hope that this helps you get started. Once you start making your own cosmetics, you will never need to spend all that money on fancy brand names again. You are just paying for their expensive advertising campaign, in any case. Your creations will be just as good, if not better. Oh, and don’t forget to have fun.
As always, live well.
Valerie
Hello! Do you know of a way/is it possible to turn this into a baked foundation after mixing?
Hello Erin,
It is not something I have ever tried to do. I just use the liquid foundation for full coverage, usually for evenings out, and the powder foundation for lighter day wear.
Would you know the amount of silk powder to add to your above recipe?
Thanks
Try two teaspoons.