Fermenting food is one of man’s oldest and safest preserving methods. We have been doing this for thousands of years, and the bacteria used in fermentation are an integral part of our digestive system. Then modern technology came along, and fermenting went out of fashion as more easily prepared,
As we ate less and less fermented food, more and more people started experiencing problems such as Inflammatory Bowel Disease, Eczema, and Irritable Bowel Syndrome, to name a few. With our newfound understanding of the role of bacteria in our health, eating prebiotic and probiotic foods has become a key part of maintaining a healthy diet.
You can now purchase several different ferments, such as sauerkraut and kimchi, in health food stores that contain live bacteria, which are great for you and delicious. The problem is that they can be very expensive, and you have to buy another glass jar each time you get one.
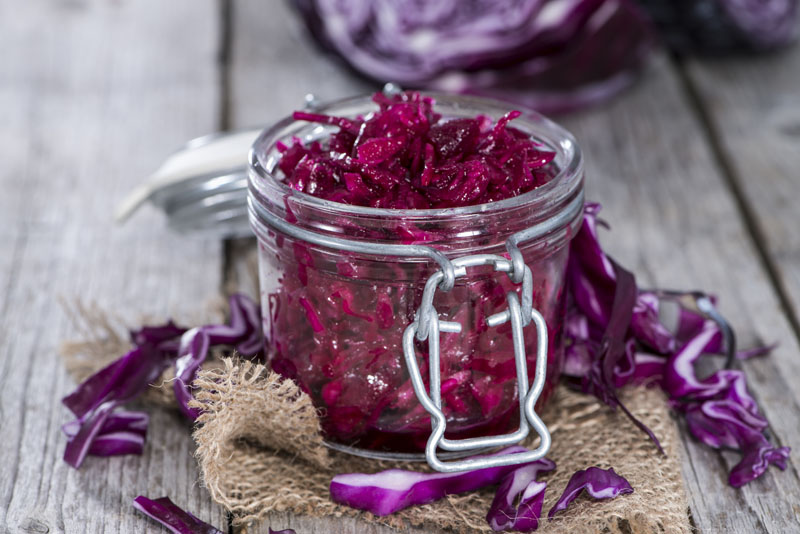
The good news is that not only are fermented foods good for you and taste great, but they are also easy to make! Save your money and the new glass jar every time you get one; make your own instead. Here is my recipe, along with a step-by-step guide to making a simple fermented red cabbage.
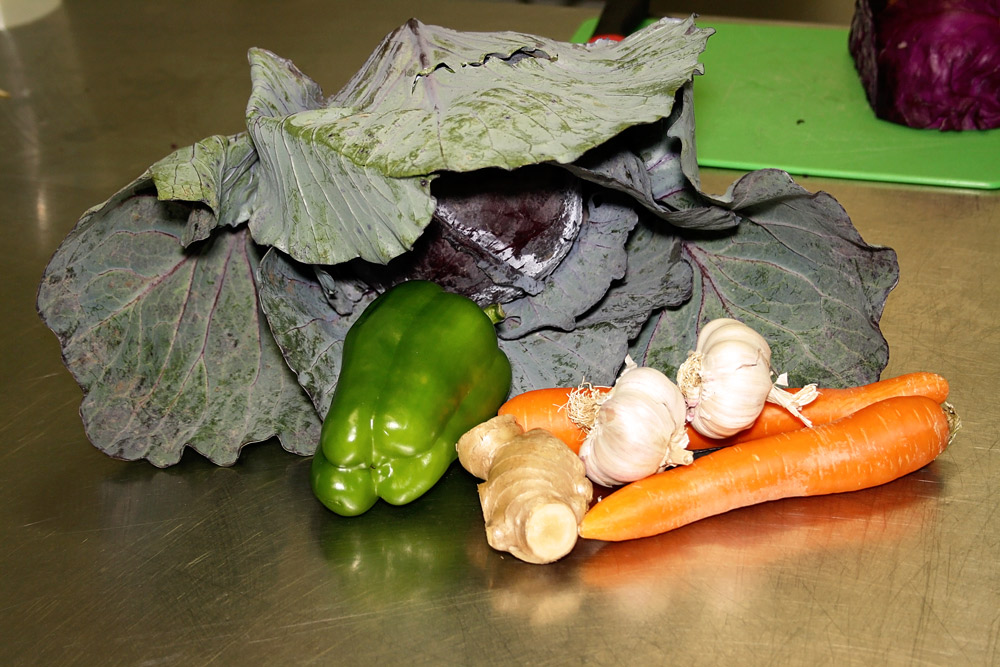
Ingredients:
- ½ a small red cabbage
- One carrot
- One green capsicum
- Two cm piece of ginger
- Four to five cloves of Australian garlic
- Non-chlorinated water
- Vegetable fermenting culture (starter)
Equipment:
- Cutting board
- A sharp knife
- Micro-plane
- Pot to mix your vegetables in
- Fermentation system
- Cup
Instructions:
- Chop up your cabbage, carrot, and capsicum into small to medium-sized pieces and place them in a mixing pot.
- Finely mince the garlic and add it to the mixture.
- Using a microplane, grate the unpeeled ginger and add it to the pot. Keeping the peel adds extra fibre, which is good for you.
- Toss all the vegetables together and then place them in your fermenting pale.
- Place your grate on top to hold the vegetables down.
- Mix your culture with some water and add this to the fermenting pale. Top up with more water until all of the vegetables are covered. Remember, everything submerged in the fermenting liquid will ferment, and everything above the liquid will spoil.
- Place your lid with the airlock onto the pale and seal. Add water to your airlock and set aside to ferment. The fermenting time will vary from 7 to 10 days, depending on the time of year and the temperature. In warmer months, fermentation occurs more quickly.
This is a great place to start your fermenting journey. Remember, the longer you ferment, the stronger the flavour, so start at a level you like and go from there. When you learn to do it yourself, you are taking back control. Doing your own fermenting is good for your gut and
As always, live well.
Valerie
Your recipe sounds delicious Valery. How can I source non chlorinated water please?
Non-chlorinated water is water that has had the chlorine filtered out of it. This could be tank water, which was not chlorinated in the first place, filtered water, bottled water, or water from the tap that you have boiled and then let cool down.
You should not use tap water, which has chlorine in it, as it is the job of the chlorine to kill bacteria and other micro-organisms. This may prevent fermentation and lead to a poor result.
Valerie
Hi,can’t wait to get started, just would appreciate any suggestions!! & yes I’m still saving! Thanks Bronn
Hi Valerie – we met at the recent Gympie Go Vita classes – which I thoroughly enjoyed. I love your presentation style and how you make the science of it all simple and funny!
Question about this recipe using the Mortimer Pilon as the fermenting vessel. Those directions say to leave a 3/4” headspace between the veggies and the top of the vessel and to cover the veggies with water. Does this mean just leave the space for the veggies and fill the container with water, or to leave a 3/4” space of air between the top of the water and the top of the vessel?
Hi Linda:
I am so glad you enjoyed the event.
I have had a look at the blog post you are commenting on and I do not see any mention of the 3/4″ headspace. It just says “Mix your culture with some water and add this to the fermenting pale. Top up with more water until all of the vegetables are covered. Remember everything under the fermenting liquid will ferment and everything above the liquid will go off.
Place your lid with the airlock onto the pale and seal. Add water to your airlock and set aside to ferment. The fermenting time will vary from 7 to 10 days depending on the time of year and the temperature. In warmer months the fermentation happens faster.”
If you are using the glass system, use the ceramic weight provided to hold the vegetables under the liquid instead of the plastic grate.
I hope this clears it up.
Regards
Valerie
Thanks, Valerie, but I’m still confused. It’s not YOUR instructions I am questioning – it’s the so-called instructions in the box the Mortimer Pilon came in and the accompanying book – which I already had. What I am trying to ask is – so I need to leave a 3/4″ space (of air) above the ceramic weight, or do I fill the entire vessel up with water to the top, and then also fill in the air-lock? Their directions aren’t very clear – to me anyway. Sounds simple, but I don’t want to waste a week or more to find out the hard way with a wasted batch.
I thought since you sold this system, you might know the proper way to use it.
Hi Linda:
Thanks for the clarification. Now I understand what you are asking me. You just need to ensure that all of the vegetables you are fermenting are under the water. Everything under teh water will ferment and everything above teh water will rot. Teh wright holds the vegetables down. After teh lid is on, fill the airlock. I expect that the instructions that come with the glass fermenter believe that you are going to fill teh container. They are telling you to leave the space at the top so that you do not overfill the container and end up with vegetables out of the water and something going off at the top.
I hope this is of assistance.
Valerie
Thank you. That makes sense. Their directions were not very clear – to me. Maybe something lost in the translation.
Hi Valerie,
I purchased from you the plastic fermentation system with airlock.
Do you have any suggestions about how to sanitise/sterilise it before commencing a ferment?
I’m familiar with using heat to sterilise glass, but this is plastic, so I don’t want to use a heat method that might damage or melt the plastic.
Thanks,
Stewart
Hi Stewart,
I boil the kettle and scold everything off with the boiling water. I do not submerge them in boiling water as they could warp. The scalding off works great and as I use the culture to get it started , I have the protection the scolding off and the added probiotic.
Have fun.
Valerie
I have a ceramic crock with a waterlock and I have just purchased your fermenting bundle. I think actually being able to see what is happening will give me extra confidence before using the ceramic one
Jocelyn:
I use the 2 litre fermenting pail all the time and love it. As I live alone, I like making the smaller batches.
Do I need to add any salt to the brine when using the culture for fermenting cabbage?
I do this with or without salt and it really is a matter of personal taste. A little salt tastes good to me, bity too much is unpalatable. If you use the culture you can go no salt if you want to. If you do not use the culture, you need to add salt for safety reasons. Lactic acid bacteria like a bit of salt and salt helps the right bacteria grow and this is important if you are relying of the bacteria in the environment alone and you are not adding probiotic lactic acid bacteria yourself. Personally, I would add 1/2 a teaspoons to a two litre batch, for taste and the starter culture to ensure I get a good result.
Valerie
Hey Valerie!
Do you reckon it would be ok to switch some of the ingredients? I was thinking of using beetroot instead of the capsicum and carrot as that’s what I already have at hand.
Can’t wait to get started!
Ta!
Yes, it is totally OK. I often use whatever is coming out of my garden. Valerie