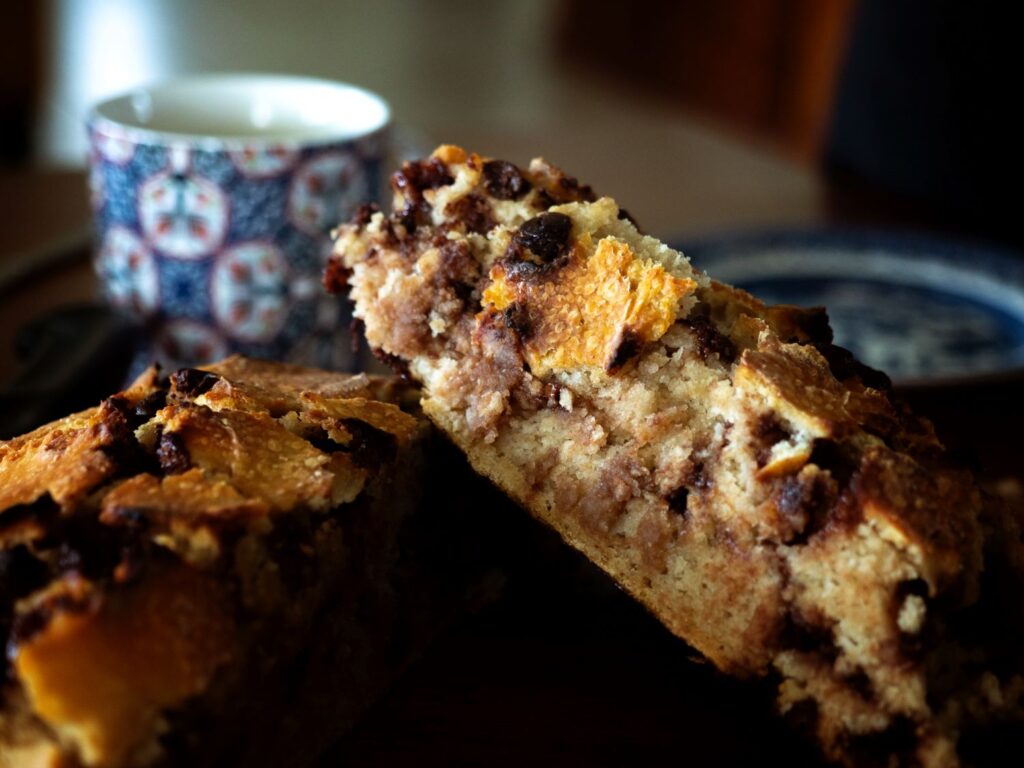
It’s not hard to make, but it does require a bit of planning and a Dutch or French oven. Just to clarify, a Dutch oven is a cast-iron pot with a lid that you can cook in the oven with. A French oven is the same, but with enamel. I went with a French over because I wanted a beautiful turmeric-coloured one.
The making of this bread is done over two days. So if you bake on the weekend, you might want to mix up your pre-dough on a Friday evening. I have set out my instructions on a day one, day two system for you to make this super easy to follow.
Ingredients:
Pre-dough
- 200 grams of all-purpose flour
- 150 grams of water
- 250 grams of your mother
(If you do not have a mother, see my blog post, Soughdough Bread, is it Better for Us and Why. You can get sourdough culture here.)
Final dough
- 200 grams of all-purpose flour
- 1/4 cup water – 50 grams
- 2 tsp Preserving Salt (This salt has no iodine)
- All of the pre-dough
- 1 cup (170 grams) chocolate chunks or chips
Instructions:
Day One:
Pre-dough
- The evening before you want to bake the bread, combine the flour, water, and sourdough mother and mix with a large wooden spoon until a shaggy dough forms. Use your hands to knead the dough until it comes together, 1- 2 minutes.
- Cover with plastic wrap or, better still, use environmentally friendly “One Wrap” and leave it out at room temperature to ferment for 12- 14 hours. I leave mine overnight so it is ready for me to do the next step in the morning. The pre-dough is ready when it has doubled in size. You can usually see air bubbles on the surface, and it has a slightly fermented smell, sweet, sour, and yeasty.
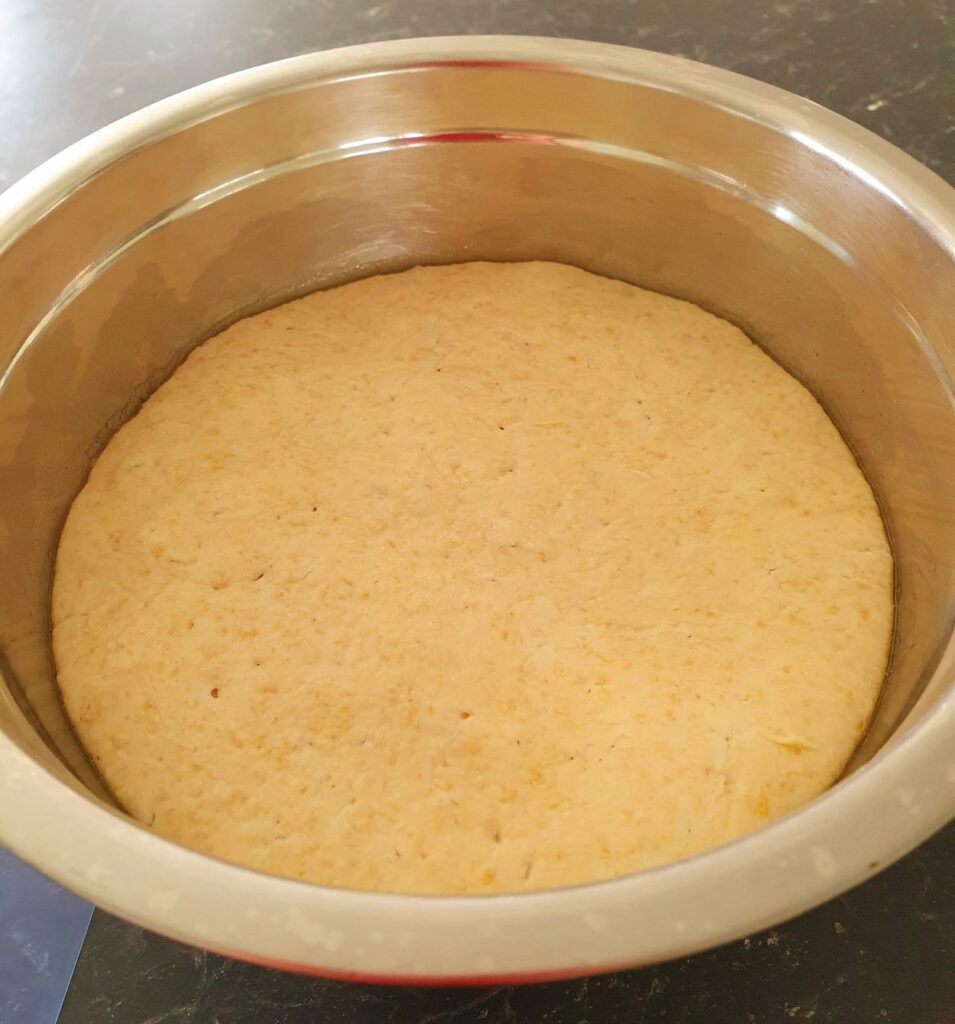
Day Two:
Final dough
- In the morning, in a large bowl, mix together flour and salt. Pour in the water and stir together with a large wooden spoon until just incorporated.
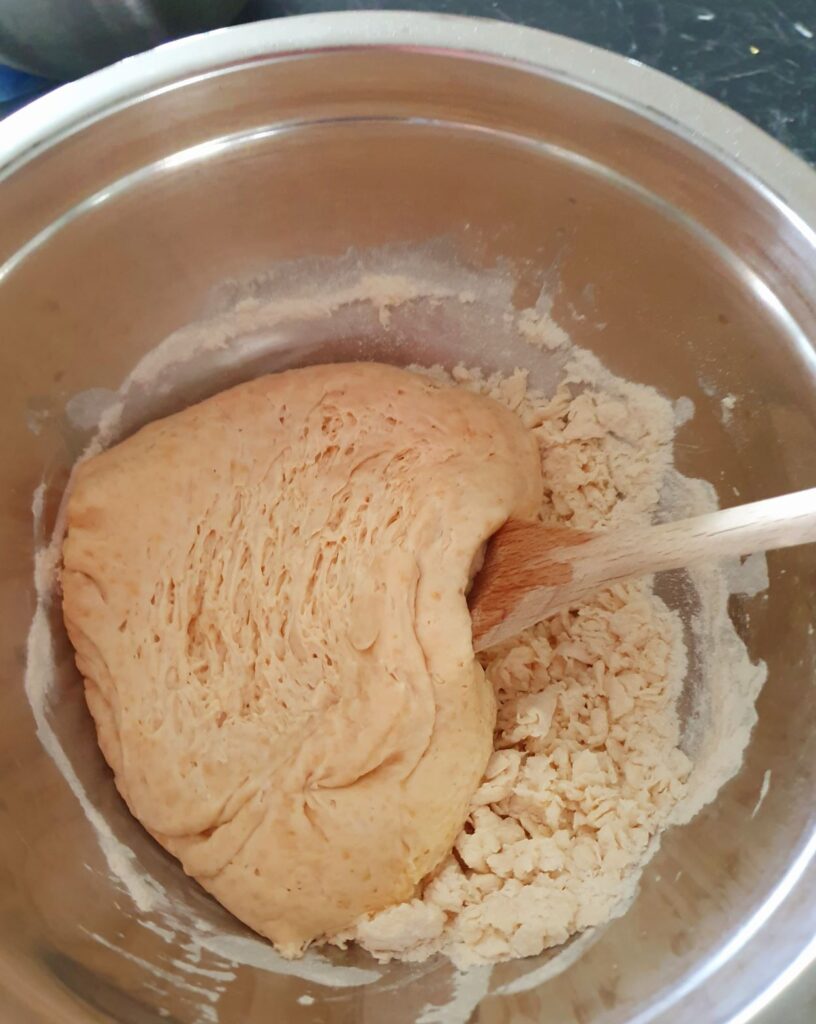
- Add the pre-dough and combine it with the dough using your hands to mix and knead. Continue to knead until the dough is fully mixed and begins to stiffen up. Cover the bowl and let it rise for about 20 minutes, or until it’s relaxed and flattened out.
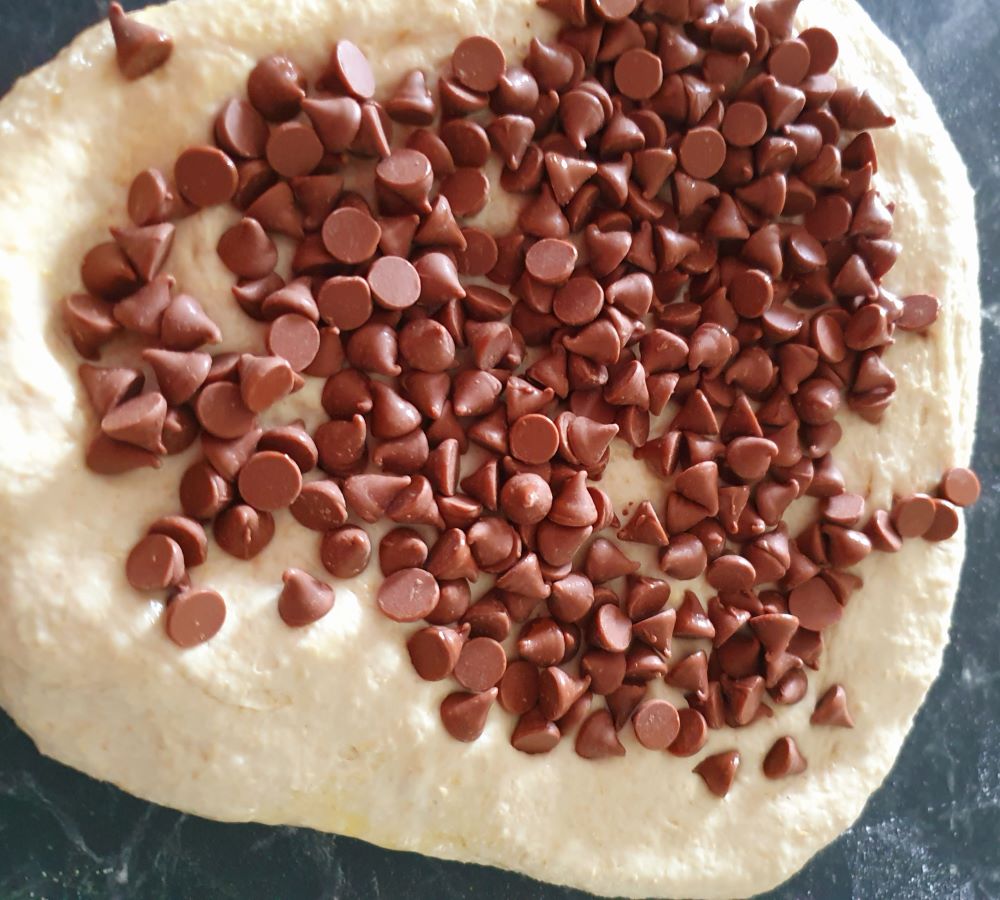
- Sprinkle the chocolate chunks over the surface of the dough and then, using a folding action, work the chocolate into and throughout the dough. Cover the bowl and let it rise another 20 minutes, or until the dough has relaxed and flattened out.
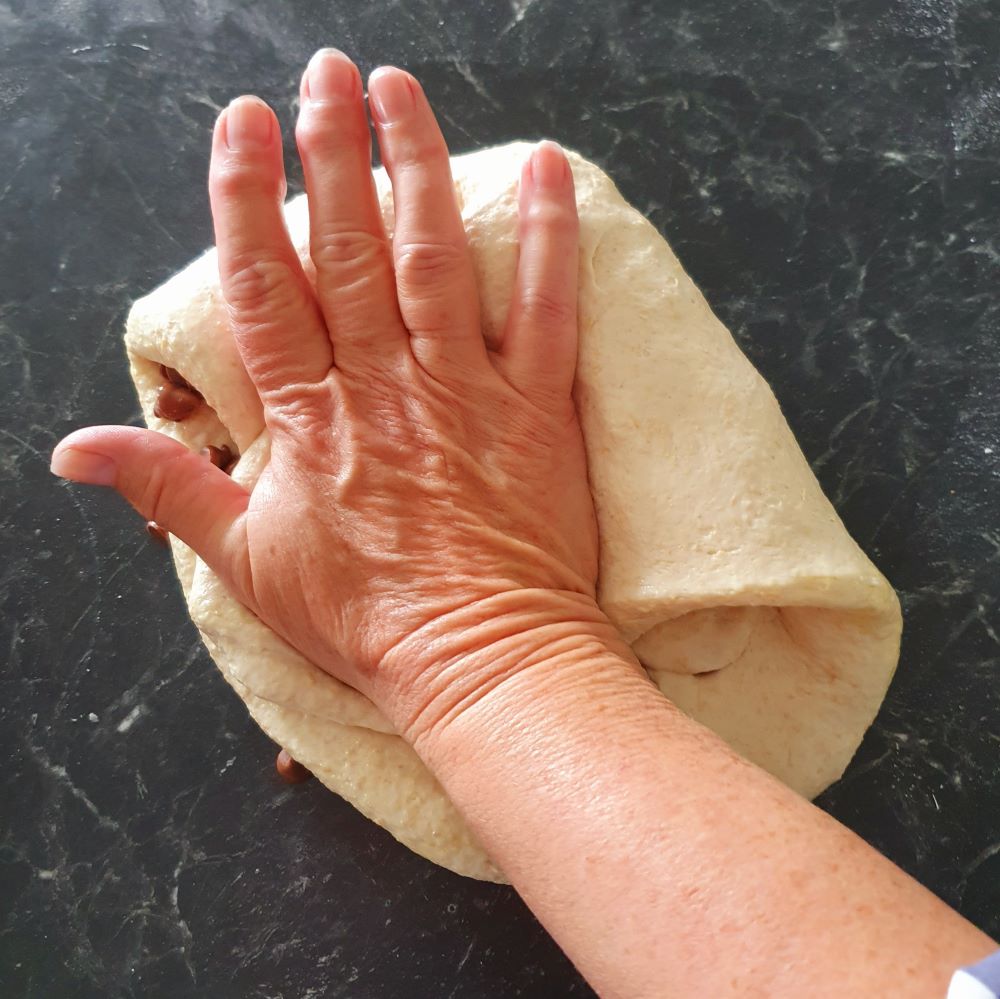
- Repeat the folding two more times, allowing the dough to rest for at least 20 minutes in between. After the third fold, place the dough in a bowl lined with baking paper and let the dough rise until it is triple its original volume, about 12-14 hours. I do this at about 6:00 am, and it is normally ready by about 6:00 pm.
- Put a rack in the middle of the oven, place your 4-6 litre Dutch/French oven on the rack with its lid on, then preheat the oven to 220°C (the Dutch oven needs at least 45 minutes to fully heat up).
- Very carefully, remove the hot Dutch/French oven from the oven, remove the lid, and place the loaf in the Dutch/French oven, seam side up. You don’t need to score the bread; these seams will naturally open up as the loaf bakes. I like to use baking paper in the Dutch/French oven to stop the bread from sticking and also to help me when it comes time to get the finished bread out of the hot Dutch/French oven.

- Put the lid on the Dutch/French oven and return to the oven to bake for 30 minutes. Remove the lid and bake uncovered for 20 to 30 minutes more, or until the bread is a rich brown colour all over.
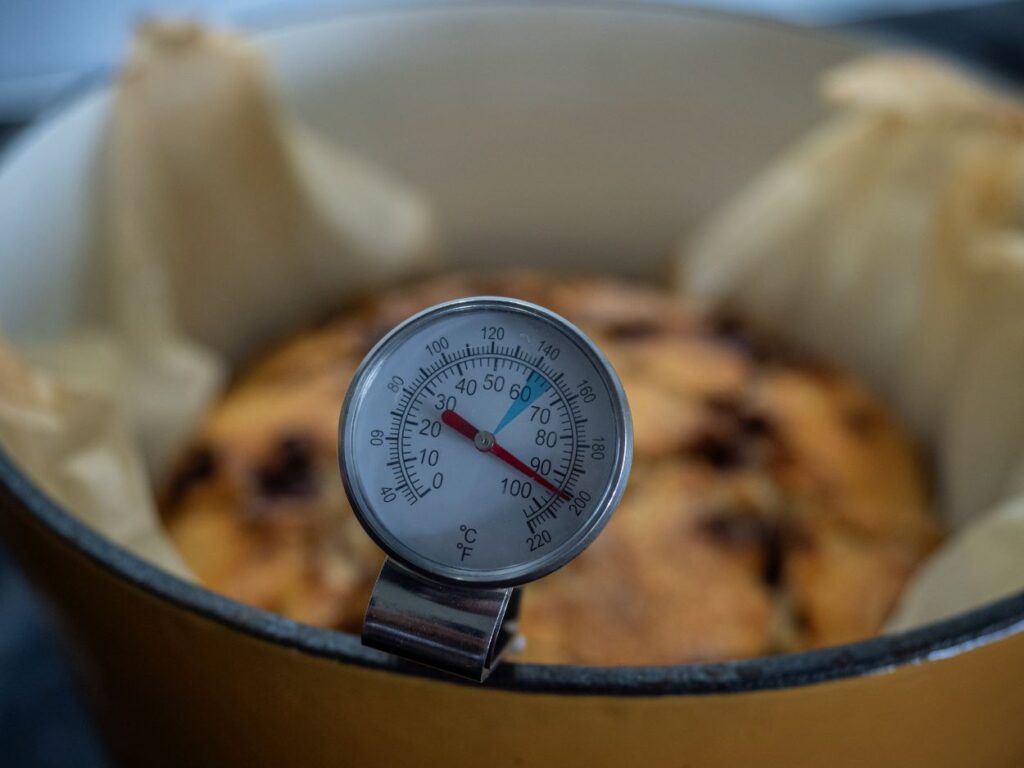
- The bread is done when it is 90 degrees in the middle. You can check the temperature with a thermometer like the one in the photograph below.
- Take the Dutch/French oven out of the oven and carefully remove the bread. Let it cool on a cooling rack for at least 20 minutes.
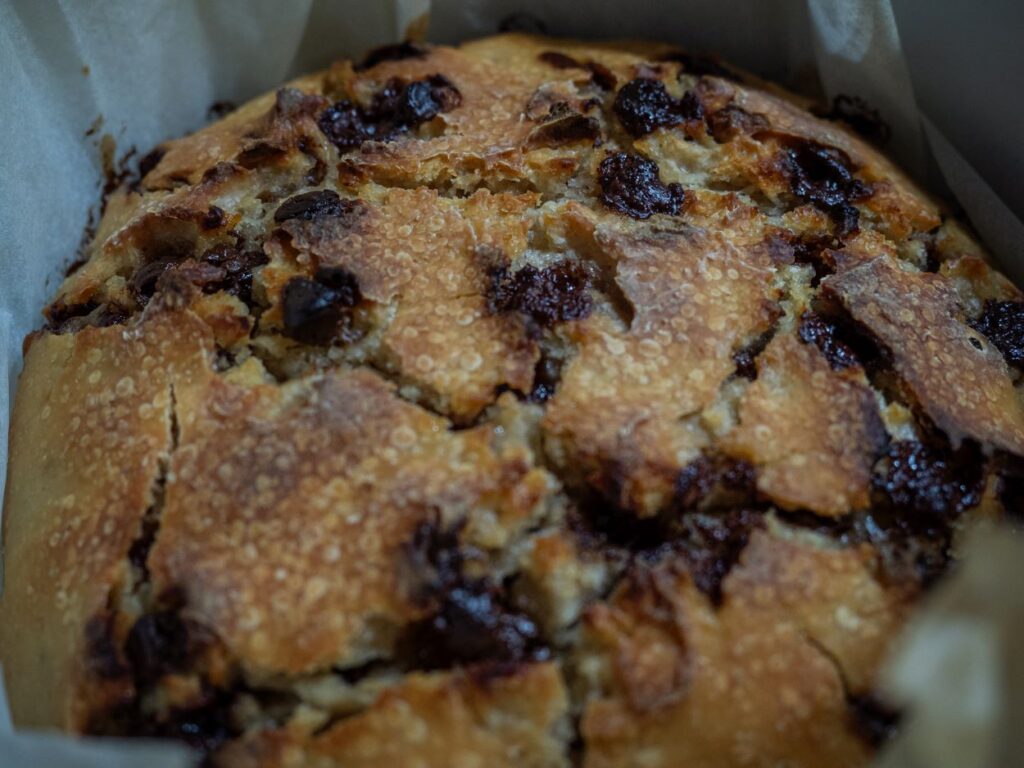
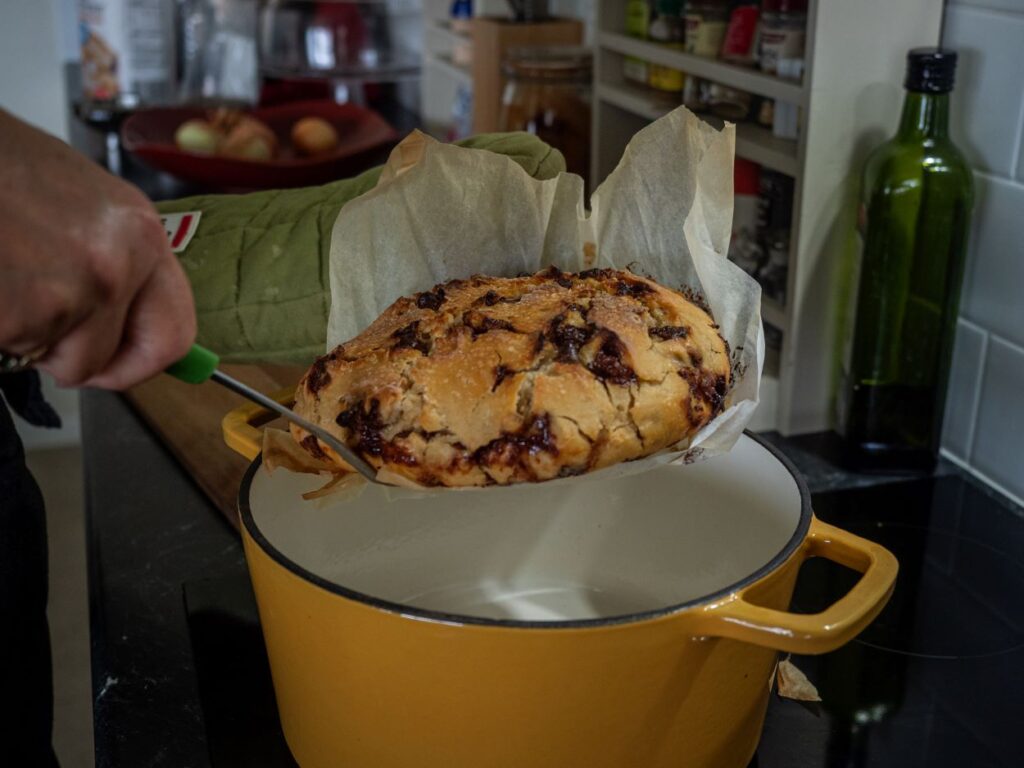
This bread is amazing. The most difficult part of the whole thing was waiting 20 minutes before cutting into it. In fact, I couldn’t do it and cut it while still hot, ending up with melted chocolate all over my fingers. I hope that you have better self-control, as I did make a bit of a mess.
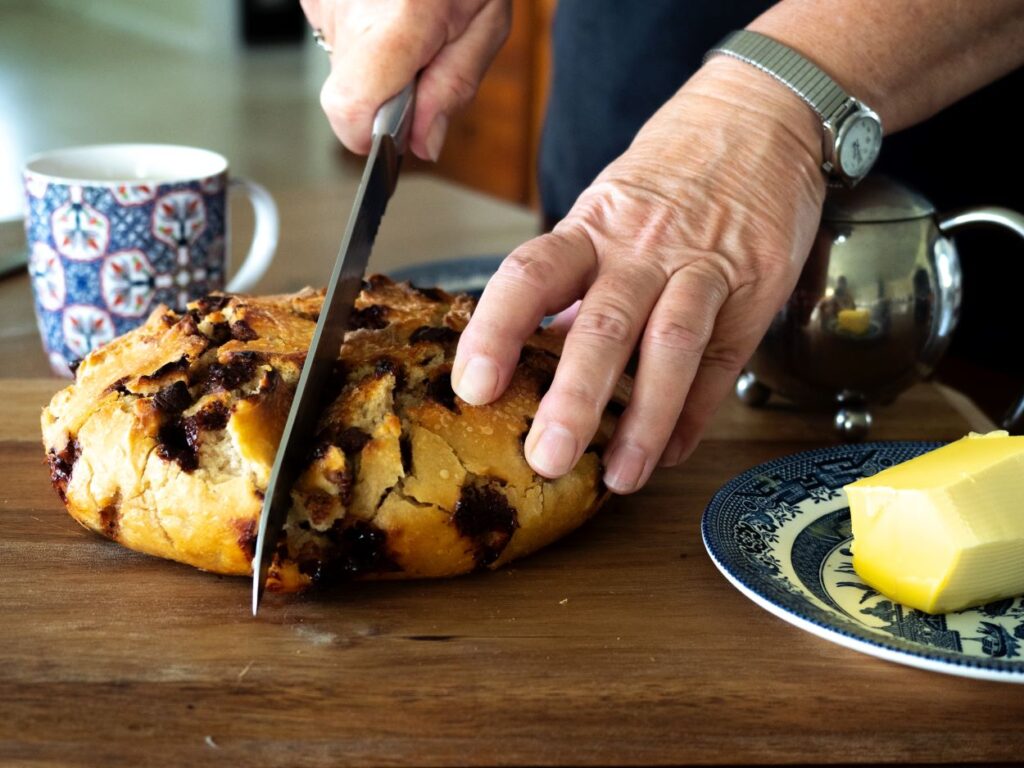
Add this to your list of things to do this weekend. You won’t regret it. Your kitchen will smell like an artisan bakery; warm and delicious. Serve with tea or coffee; it goes perfectly with either. Go ahead, create a beautiful moment.
As always, live well.
Valerie
(Visited 587 times, 1 visits today)