Christmas is a wonderful time of year when we get a chance to get together with family and friends, eat, drink and be merry. Gift-giving has been a part of Christmas for many throughout their lives, and there is nothing wrong with that. But, like many people, I have become tired of how commercial it has all become. Receiving meaningless gifts you do not need, that take up space, that you feel obligated to keep, isn’t beneficial to anyone, the giver, or the recipient.
Instead, I recommend giving people meaningful, well-thought-out, consumable gifts. My friends and family know me well, so I get lots of red wine and chocolate at Christmas and trust me, it’s appreciated. l also get handmade items from my crafty friends, which I love. This ranges from various food items, always a bit hit, to handmade bath bombs, potted plants grown from seed, flowers from the garden, and beautifully made padded coat hangers. These kinds of gifts fill me with happiness as they have taken thought and effort from the giver and come with a lot of love.
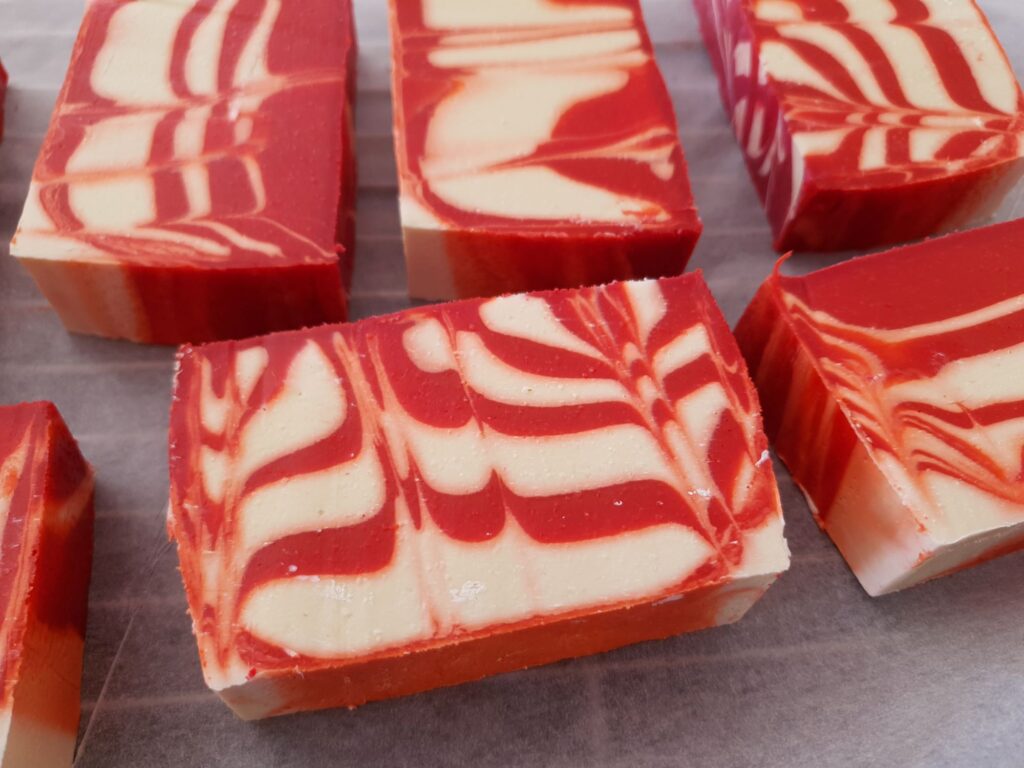
An item that I like to give at Christmas is handmade soap. I enjoy soap-making and know it’s a gift that will be used and appreciated. I did a Christmas candy cane-inspired soap this year using a red and white striped pattern and peppermint essential oil. Here is my recipe:
Equipment
- Safety glasses or goggles to protect your eyes whenever you are handling soap-making ingredients.
- Rubber gloves
- Scales to measure all of your ingredients
- A pot to melt your solid oils in (or a large microwave-safe jug)
- Heat-proof jug to mix up your lye solution
- Thermometer ( I use two when making soap)
- Stick blender
- A loaf-shaped soap mould (1200 ml)
- Two 500 ms jugs, one for each soap batter colour
- Two small jugs to mix your colours in
- Several spatulas, I would say at least three.
- Curing rack and tray
- Soap Cutter
Ingredients
For the Soap Batter
- 200 grams of Coconut Oil (in the kit)
- 200 grams of Sustainable Palm Oil (in the kit)
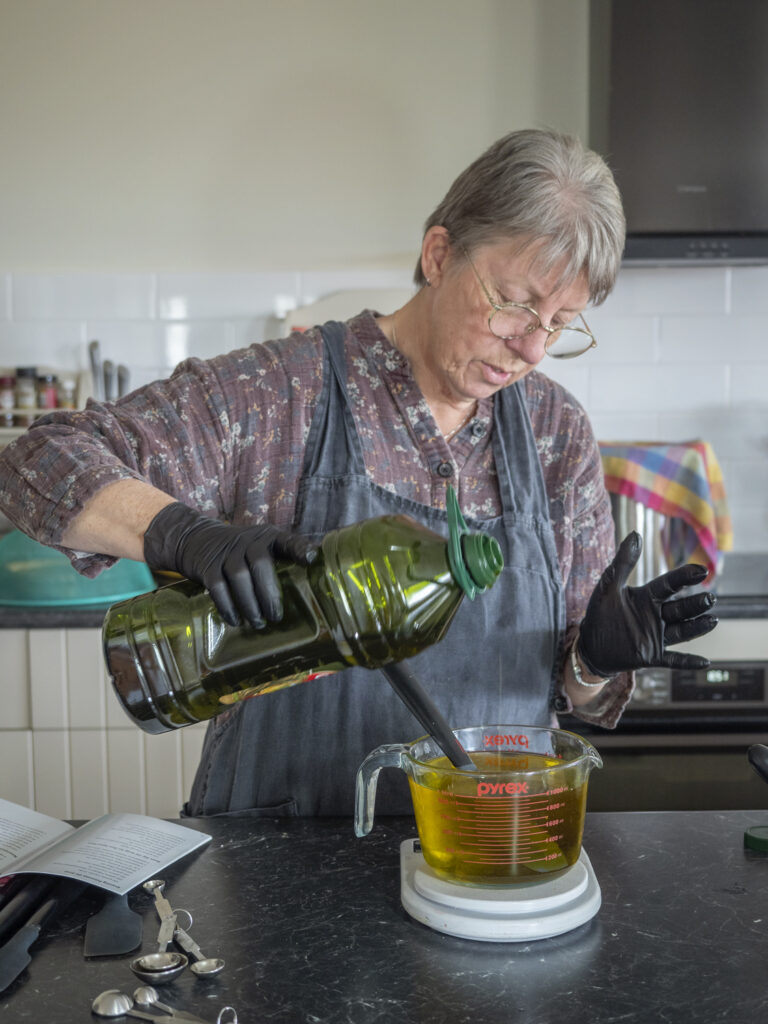
- 400 grams of olive oil (available at your local supermarket)
- 50 grams of shea butter (in the kit)
- 122 grams of sodium hydroxide (from the hardware store)
- 273 grams of distilled water (In the cleaning section of the supermarket)
- 15 ml peppermint or spearmint essential oil
For the colours
- One teaspoon D&C Red 7 Lake (45%) mixed with a small amount of oil so that it disperses evenly.
- Three teaspoons of Titanium Dioxide, mixed with a small amount of oil to distribute it evenly
Instructions
- Before starting your soap-making, gather all the necessary equipment and ingredients. There is nothing worse than being partway through a soap recipe and discovering you do not have something you need. As soap making is a time- and temperature-sensitive process, you cannot stop what you are doing and go to the store to pick up what you don’t have.
- Put on your rubber gloves and your safety goggles. Using accurate kitchen scales, carefully weigh out all your ingredients. I measure my caustic soda first, then place it into a small dry bowl. Then, measure your distilled water and place it into your jug.
- Mix your caustic soda solution. Always add your caustic soda to your water. DO NOT ADD WATER TO YOUR CAUSTIC SODA. The chemical reaction can produce significant heat, resulting in fizzing and splattering. Use your silicon spatula to mix the caustic soda into the water. It is best to do this outside or in a well-ventilated room, as you do not want to breathe in any of the fumes that the heating of the solution may create through a chemical reaction. Your caustic soda solution will become quite hot and needs to cool down before it can be added to your oil. Once I have mixed up my caustic soda solution, I carefully place one of my thermometers into the jug to monitor the temperature as it cools.
- Measure each of your oils. Place the coconut oil, Palm oil, and shea butter into your soap pot or a microwave-safe jug if you plan to use the microwave to melt them. Add your liquid oils to the melted solid oils, then place a second thermometer into the bowl of oils to monitor the oil’s temperature.
- Once your caustic soda solution is mixed and your oils melt, equalise their temperature until they are no more than ten degrees apart. Somewhere between 34 and 38 degrees works well for this soap. To do this, use hot and/or cold water in the sink and place the jug and/or bowl into the appropriate water.
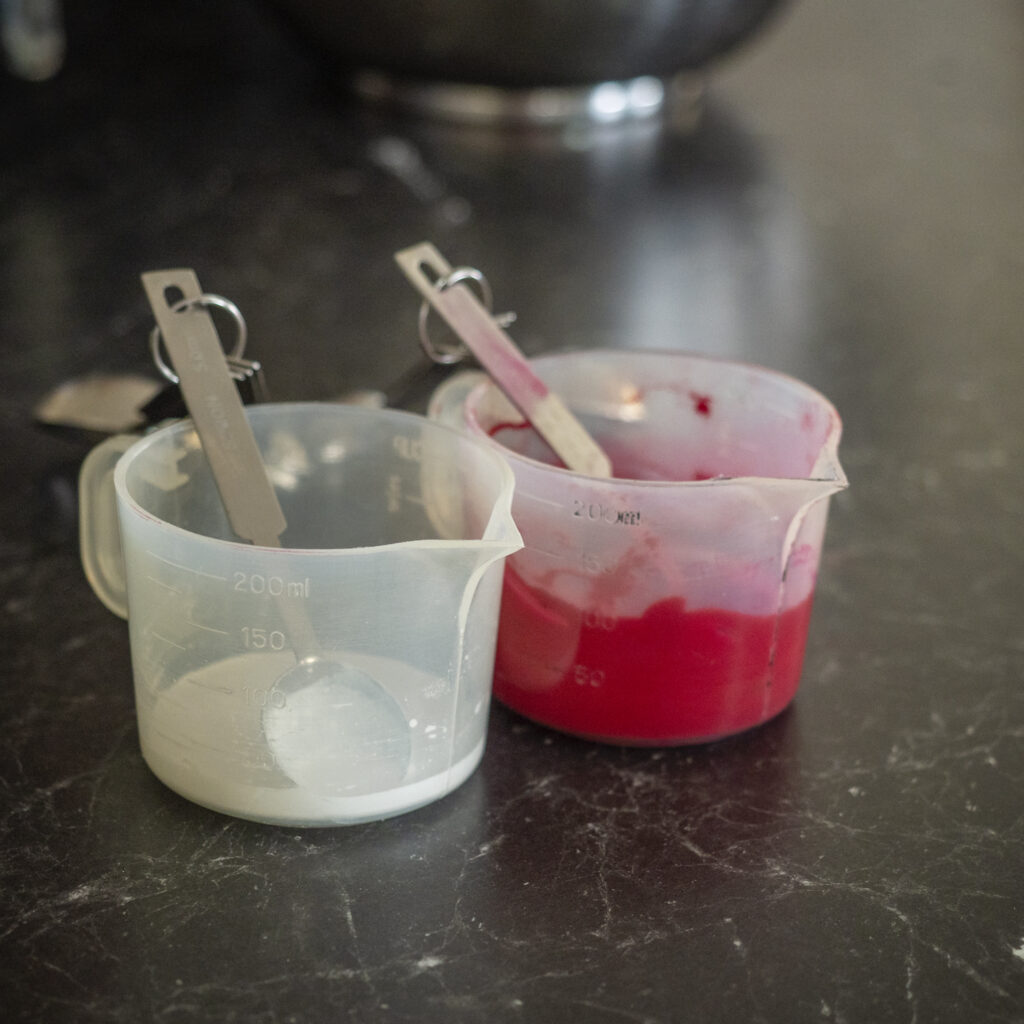
- Preparing your colours: While you wait for the temperature of the oils and caustic soda solution to equalise, you can proceed with mixing your colours. Using two small jugs, mix up your red and white colours.
- Mix one teaspoon of D&C Red 7 Lake (45%) with two tablespoons of olive oil in the first small jug.
- Mix three teaspoons of titanium dioxide with two tablespoons of olive oil in the second small jug. Set both aside for later use.
- Once the oils and the caustic soda solution reach a similar temperature, or within a few degrees, you can pour the caustic soda solution into the oil mixture. Wearing rubber gloves and safety glasses, pour the caustic soda solution into your oils while mixing with a spatula.
- Use a stick blender and mix the oils and caustic soda solution until the mixture reaches a light “trace”. Trace is when the oil and caustic soda solution are mixed so they will not separate. This is called an emulsion. Don’t mix for too long, as doing so will cause the soap batter to become too thick to work with. To test for trace, use a spoon to pick up a small amount of the soap mixture and drizzle it across the top of the remaining soap mixture. If it is not ready, the drizzle will immediately sink back into the soap mixture, leaving no trace. However, if it is ready, a small amount of the soap mixture, when drizzled onto the remaining soap mixture, leaves a faint pattern before sinking back into the mixture. You do not want to wait until the trace is thick enough for the pattern to remain on the surface, as this will be too thick to pour.
- Using a spatula, mix in your essential oil once your soap has reached the emulsion stage.
Colouring and Pouring
- Take the soap batter and calculate the total weight (1235 grams). Divide it into two parts based on how much of each colour you want. I wanted it to be about 50/50, but you could go with less red. After seeing how my soap turned out, I would recommend using 60% white and 40% red.
- White – 1235 x 60% = 741 grams
- Red – 1235 x 40% = 494 grams
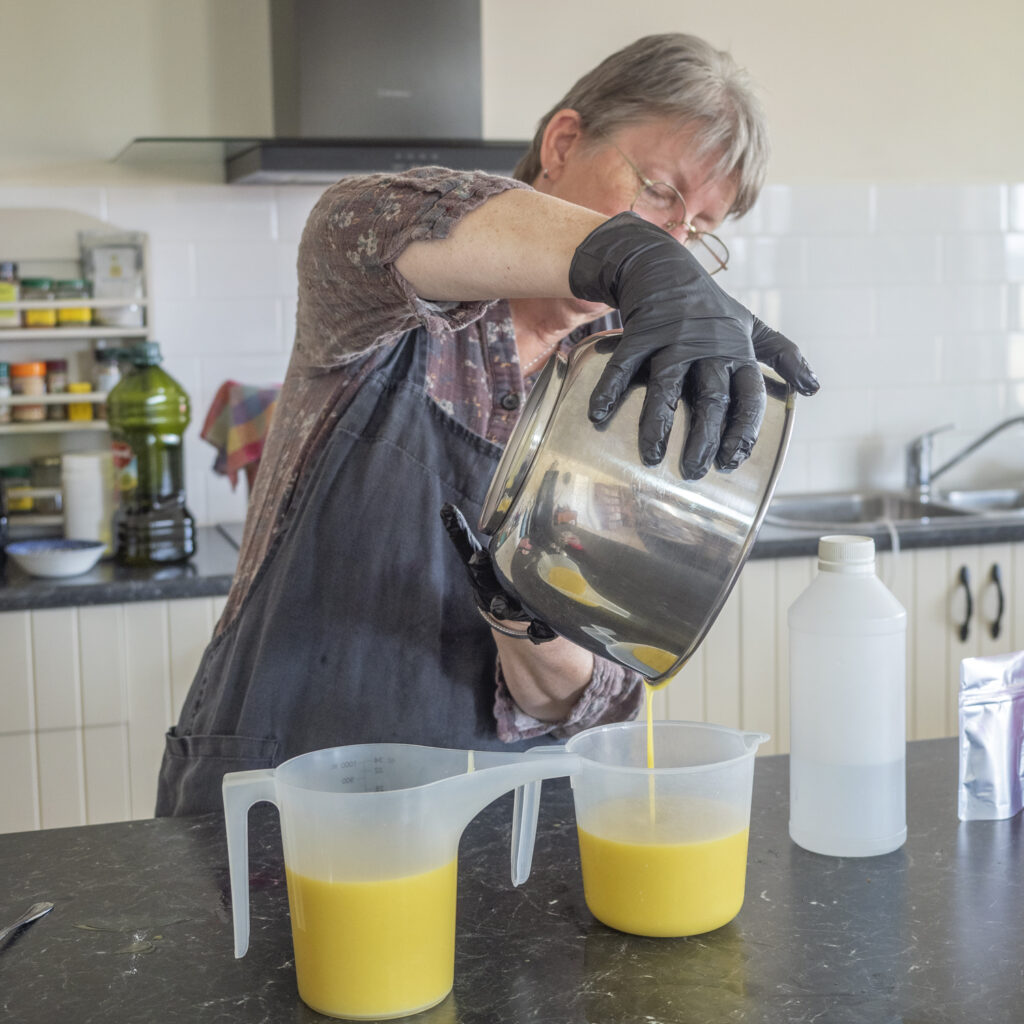
- Place one of the 500 ml jugs on the scales and tare it to zero. Pour the soap batter into this jug until you reach 494 grams. Set this aside. This is for your red.
- Pour the remaining 741 into the other jug. This is for your white. Don’t worry about being super exact. It will all work out.
- Mix one tablespoon of the white colour mixture into the soap batter jug with 741 grams. If it doesn’t seem white enough, add a little more.
- For the red, mix in one tablespoon of the red colour mixture. If this does not look red enough, add a little more. I admit to mixing it all in, and it was very red.


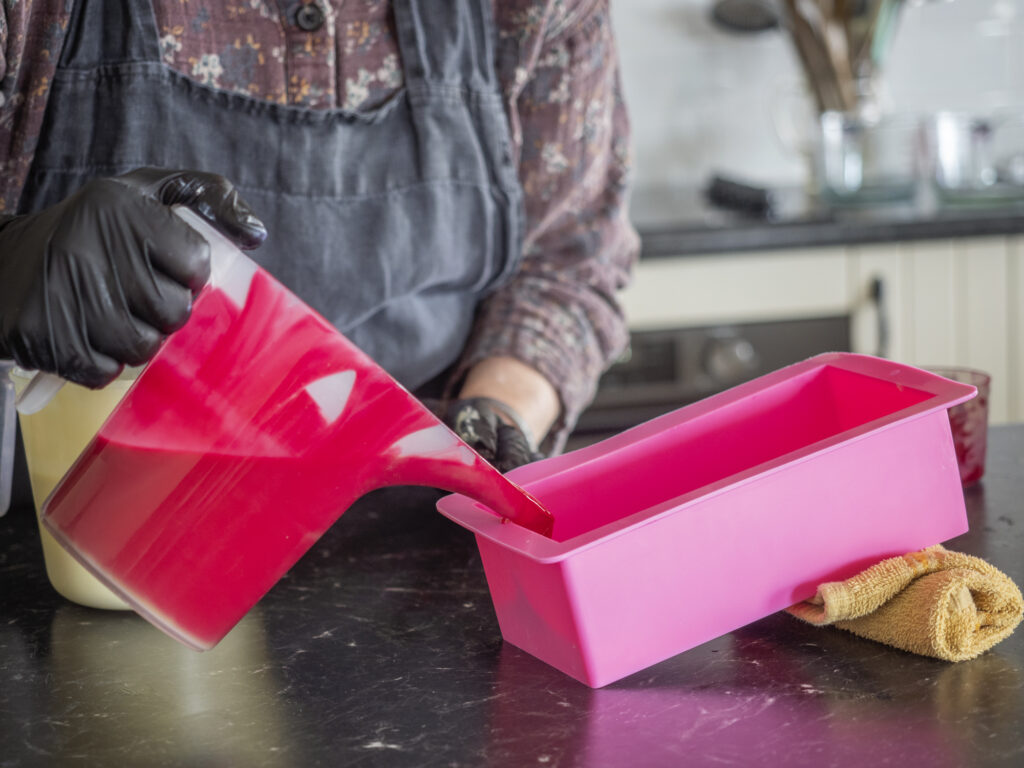
- Now you are ready to pour. Place the mould on the counter with one end lifted up. I used a rolled-up facecloth on one end to lift my mould.
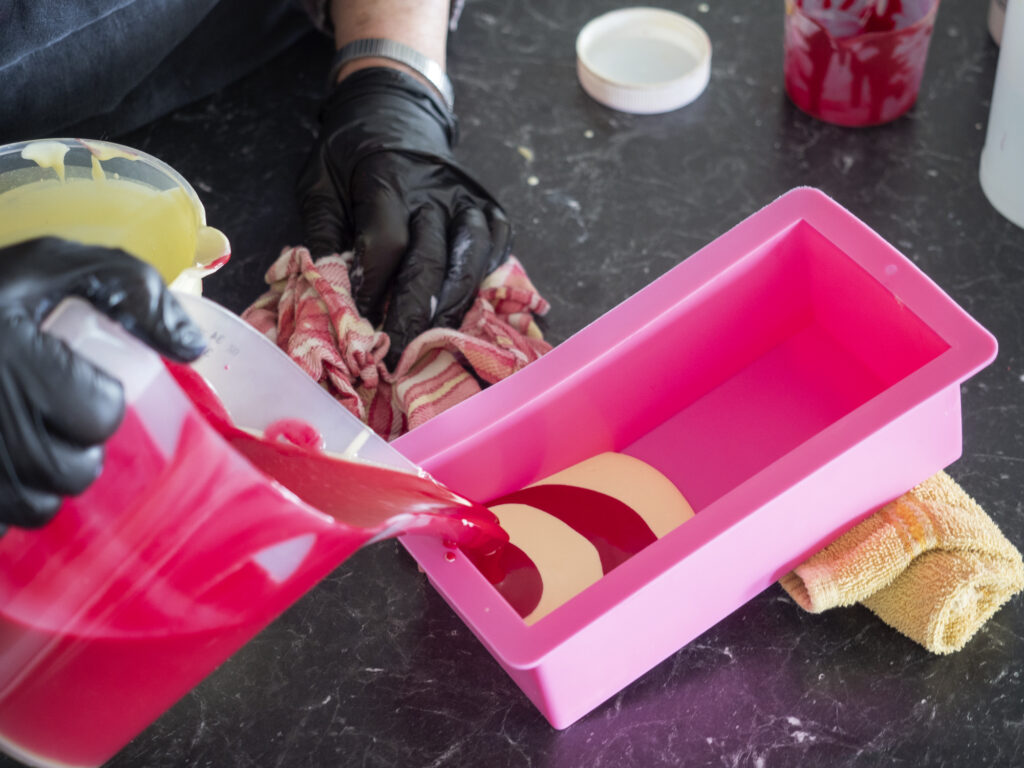
- Start pouring into the lower end of the mould. Fitsy one colour and then the next. I went white and then red, but it would work just as well the other way around.
- As you start filling the mould, remove the facecloth and allow the soap mixture to move along the mould length. Give it a little shake to move it along if your soap starts thickening and moves too slowly. Eventually, the mould will be full and sitting flat on the counter.

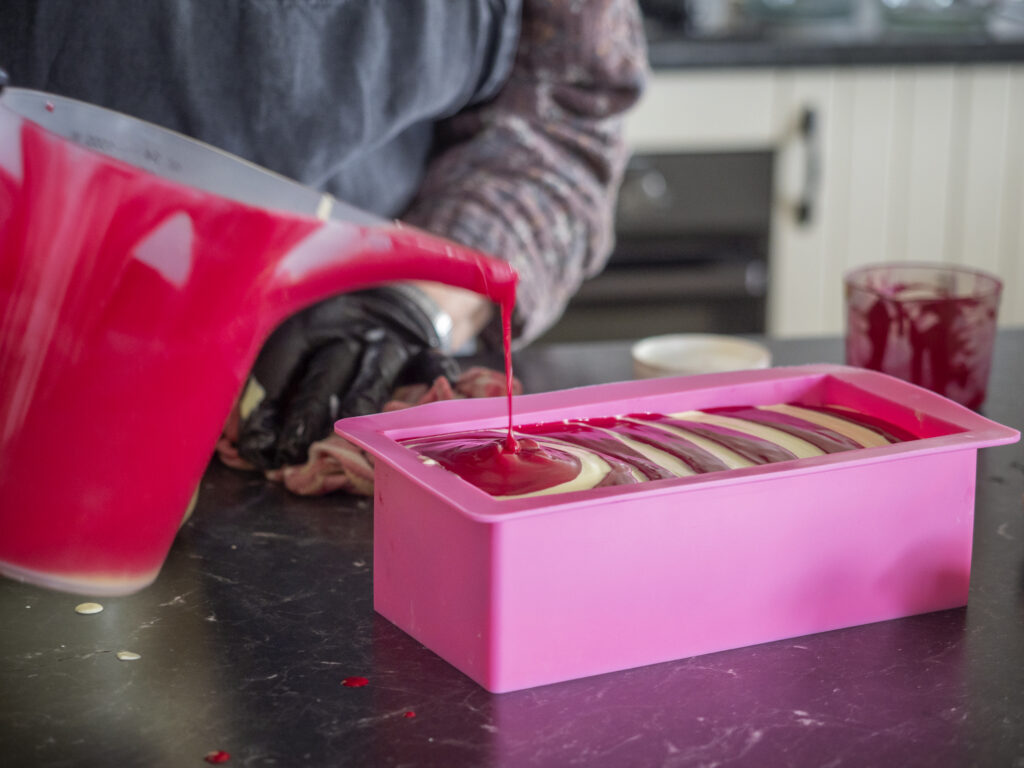
- Now, take a chopstick or a knitting needle and create your swirls. Place the chopstick into the soap mould in the bottom left-hand corner, all the way to the bottom. Using a figure-eight pattern, move the chopstick back and forth as you move from left to right, ending up in the bottom right-hand corner.
- Once the soap is poured, it is set aside in the mould to cure and harden. It is important to keep the soap warm. Cold-process soapmaking involves a chemical reaction called saponification, where oils and lye (sodium hydroxide) combine to form soap and glycerin. This reaction continues even after the soap is poured into moulds. Keeping the soap warm promotes and accelerates saponification, ensuring it fully transforms into its final state.
To keep cold process soap warm after pouring it into moulds, you can use several methods:
- Insulation: Cover the moulds with an insulating material such as towels, blankets, or a foam board to trap heat and keep the soap warm.
- Heating mat or Blanket: You can use a heating pad or a heated blanket to keep the soap warm. Be sure to monitor the temperature to avoid overheating.
- Curing Oven: Some soapmakers use an oven set to a low temperature to keep the soap warm and promote saponification.
Cutting your soap
- The following day, remove your soap from the mould. The soap should be hard enough to do this without causing any damage. If the soap is still too soft, leave it another day.
- I cut my soap with the wire soap cutter. I like the clean cut this gives me.
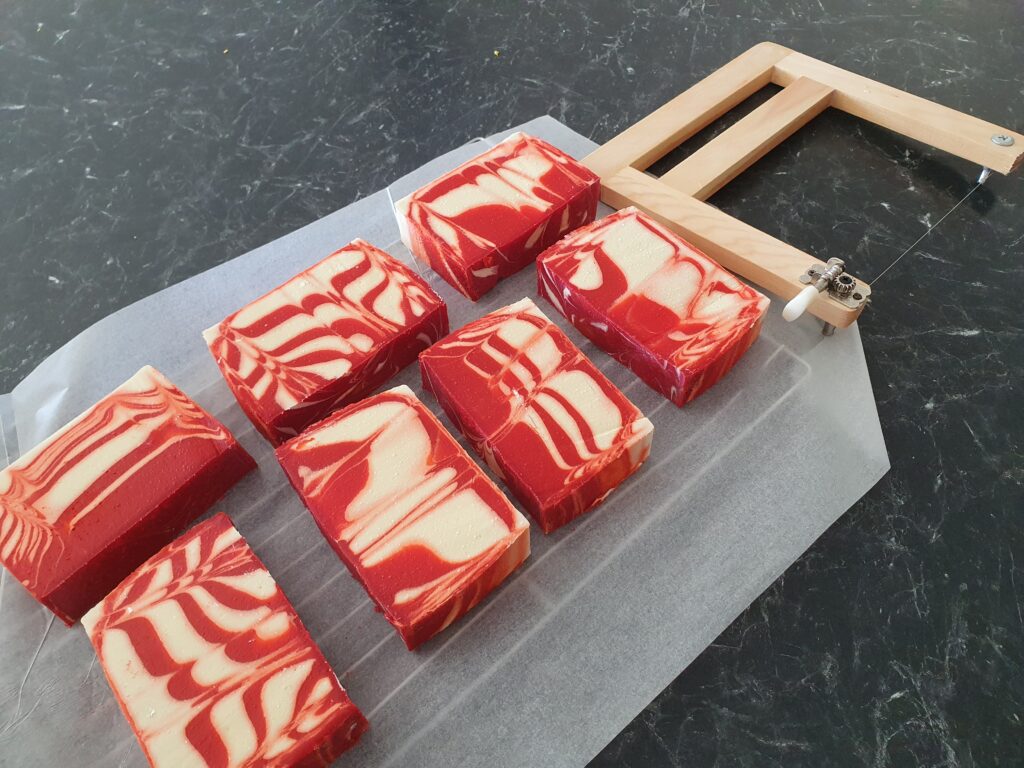
- After they are cut, I clean them up a little, shaving off any rough edges and the tops that do not look smooth.
- Place them on a tray to cure for six weeks before using.
I am thrilled with this soap. I have been trying to get a true red for ages and love this new colour. I can see many future projects using this colour.
Give this one a go. It is sensational and will make fantastic Christmas gifts and stocking stuffers.
As always, live well.
Valerie