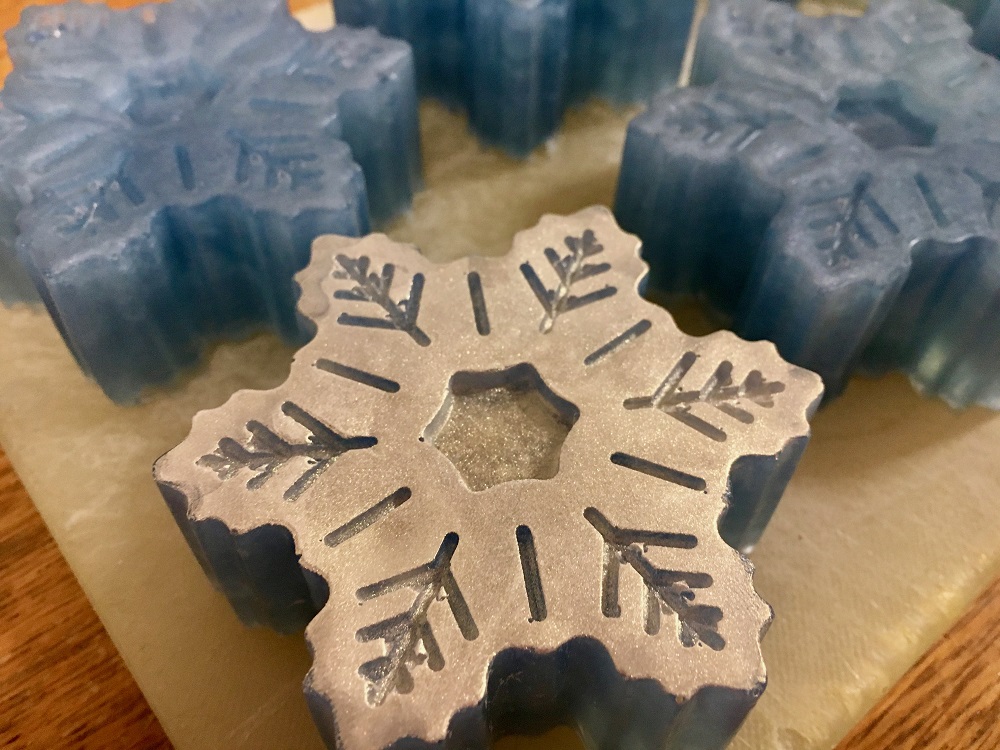
We just celebrated the Snowflakes Festival in Stanthorpe, which was truly wonderful. But in many of Australia, these melt-and-pour soap snowflakes are as close as you will get to this winter wonder. Give them a go. They are an easy first step to soap making. What You Will Need:
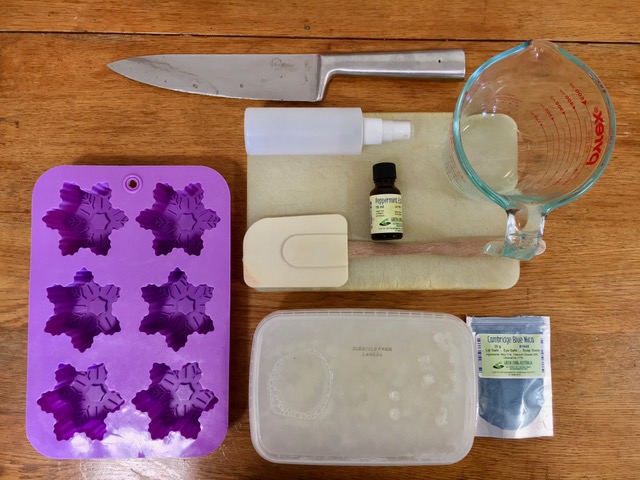
Equipment:
- Stainless Steel Knife
- Microwave-safe dish
- Chopping Board
- Soap Mould (I had snowflakes at home, but any Christmas theme will work perfectly)
- Silicone Spatula
- Mini measuring spoons or regular measuring spoons (I forgot to put them in the picture, so be more organised than me!)
Ingredients:
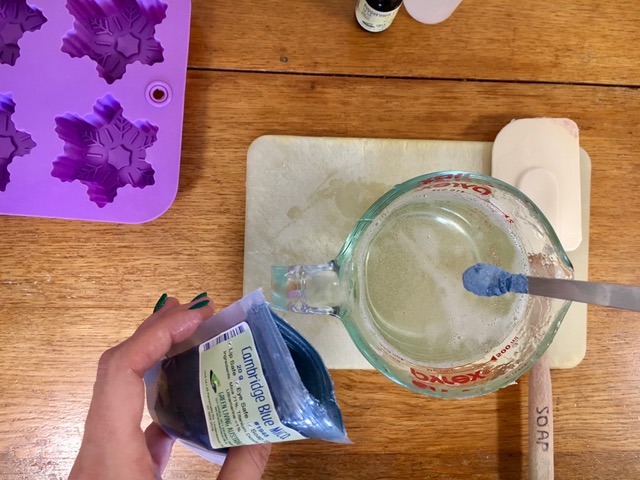
- ¼ tsp Cambridge Blue Mica
- 15-20 drops of Peppermint Essential Oil or Lemon Myrtle
- Melt and Pour Soap – SLES and SLS Free
- Ethanol in a spray bottle
- Champagne Mica (Optional)
Instructions:
1.) Lay out all your equipment on your table surface. The melt and pour melts quite quickly, so it helps to have everything there.
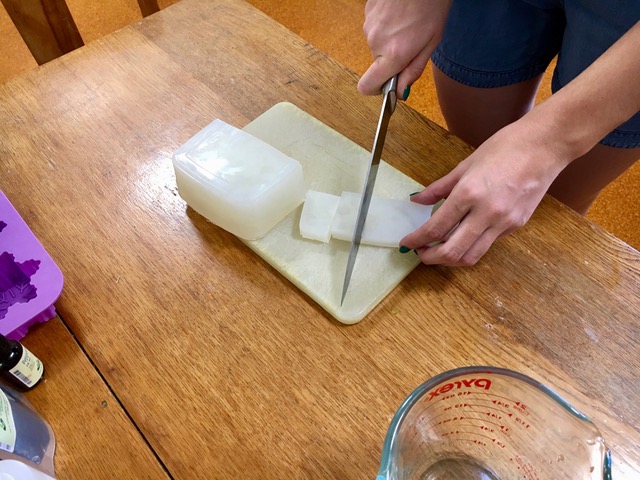
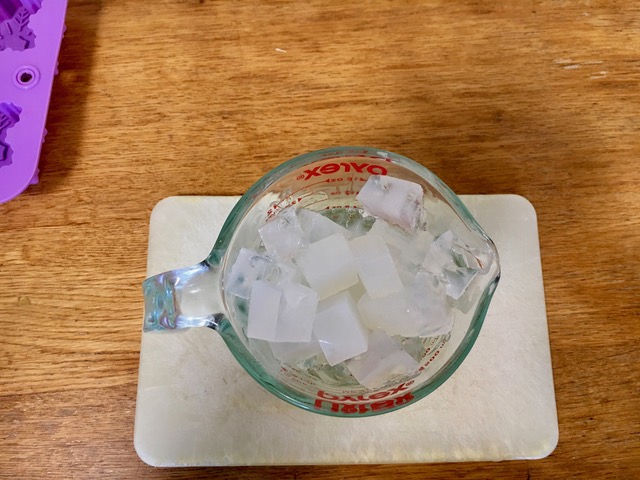
2.) Cut your Melt and Pour Soaps into roughly 1-inch cubes.
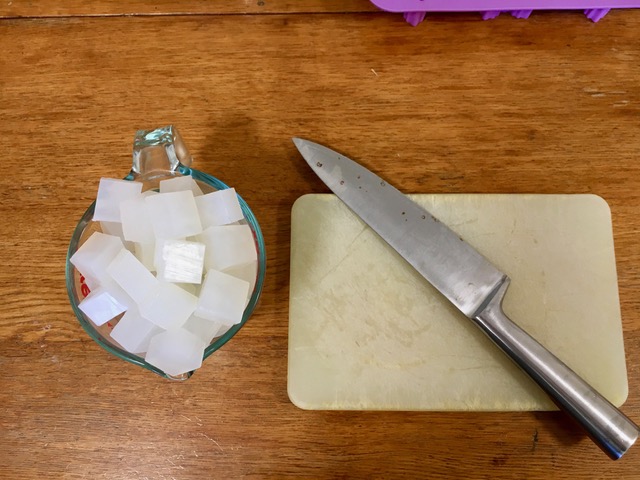
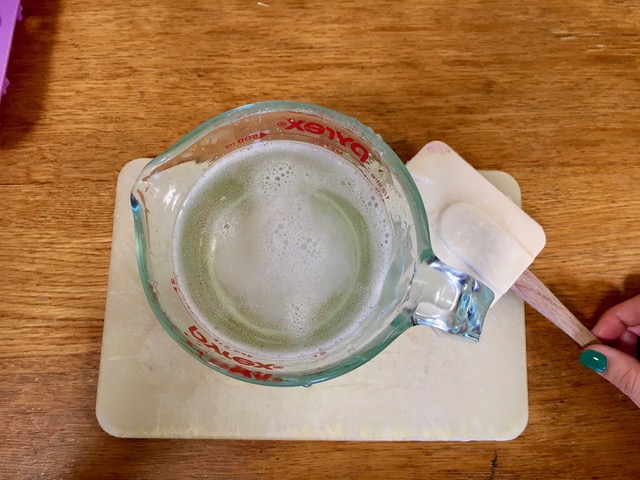
3.) Melt in the microwave for an initial 45 seconds, give it a stir and put it in for another 45 seconds. If there are still little lumps, pop it in for 10 seconds, and that should do the trick.

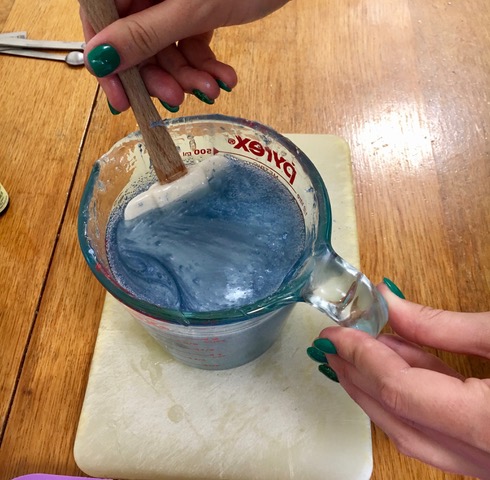
4.) Now, add your colour and essential oils. Always add colour first; the essential oils will accelerate the setting process and mix well. Then add the essential oils and mix again.

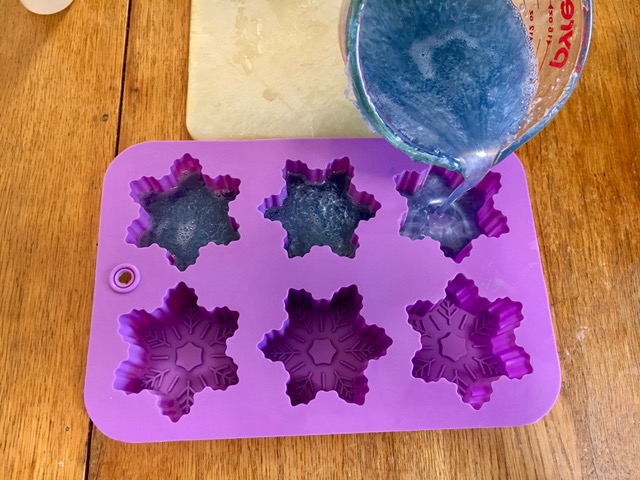
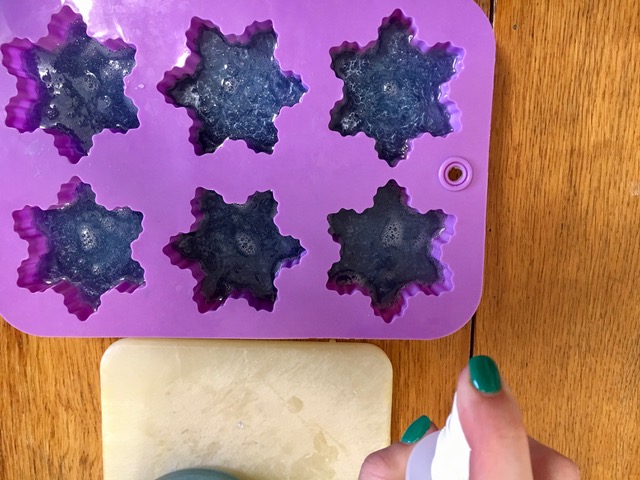
5.) Spray your moulds with a spirit of ethanol and pour. Once your moulds are full of soap, spray with more ethanol to eliminate excess bubbles.

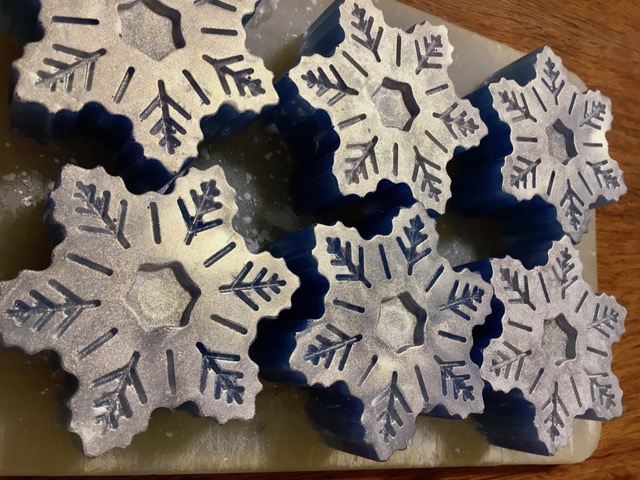
6.) All done! Store in a cool, dry place for 24 hours. After 24 hours, you can gently remove the moulds. You can definitely keep them as is; they look absolutely stunning, but I decided to dust the top with Champagne White Mica to get a beautiful gold effect. Try to leave for one week to cure.

As always, live well.
Valerie