I love yoghurt and always thought it was a healthy breakfast option for my kids and me. Because it is made with lactic acid bacteria, all-natural yoghurt has a lower sugar content than the milk it is made from. The problem is that most commercially produced yoghurts contain excessive amounts of sugar, making them unhealthy overall. This was discussed in detail by Choice in their article How to Choose a Healthy Yoghurt.
So, I decided to make my yoghurt to ensure that I could have all-natural yoghurt with no added sugar and that the bacteria are still alive and well when I eat it. I am looking for a yoghurt with a low sugar content and a high bacterial count, and to achieve this, I need to ferment my yoghurt for longer.
Long fermentation is recommended in the SCD and GAPS diets and is an excellent idea for people with digestive issues or anyone wanting to improve their microbiome health. Your ‘gut microbiome‘ is made up of the trillions of microorganisms and their genetic material that live in your intestinal tract, mostly in the large intestine.
To do long fermentation, you will need a suitable yoghurt maker. I use an electric yoghurt maker that I designed especially for long fermentation. I found that the thermos-style makers, which require adding hot water, work great for about 8-10 hours at holding the temperature. This is great, as that is how long a standard fermentation would take. However, I wanted a longer fermentation of 24 hours, so that was not good enough for me.
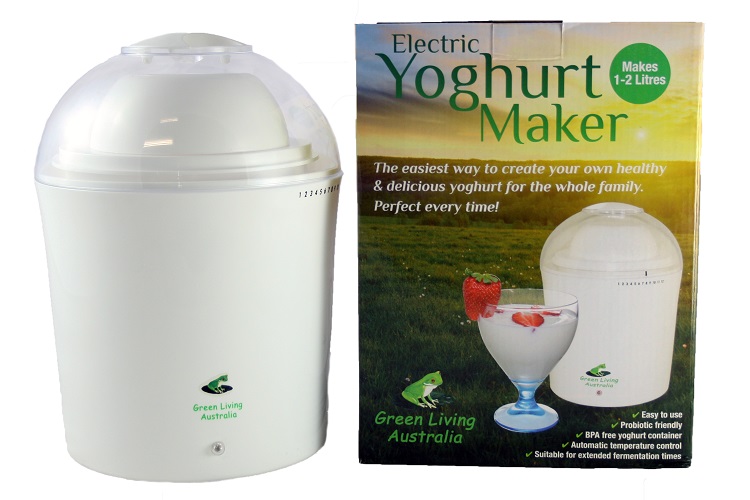
So I looked at electric yoghurt makers and, after having a few issues, went ahead and designed my own. The first issue I had was with yoghurt makers that had timers that turned themselves off when the yoghurt was ‘done’, none of which could be set for 24 hours. The second issue I had was temperature creep: if they just stayed on until you turned them off, their temperature slowly crept up, and by the time you reached 24 hours, they were so hot that the bacteria had been killed.
So the yoghurt made in these makers looked great, tasted great, but was dead. I even called a company to complain and was told that this heating feature was beneficial because it killed the bacteria at the end, which in turn gave the yoghurt a longer shelf life in my fridge. In frustration, I created my own, which is how the Green Living Australia Yoghurt Maker came to be.
Now that you have a yoghurt maker, you need to obtain some culture and start making your own yoghurt. Here is my recipe for a great, thick, creamy Greek-style yoghurt that I’m sure you’ll love.
You Will Need The Following Items
- A yoghurt maker large enough to hold one litre of milk.
- A stainless steel pot.
- Dairy Thermometer
- Sealed Whisk
Your Ingredients
- One litre of full-cream milk
- 1/3 cup powdered milk (the powdered milk adds additional protein, and this is what makes it Greek Style)
- Two or three drops of calcium chloride — Optional (While this is optional, I always use it to improve my yoghurt’s thickness and also to increase my calcium intake.)
- One dose of yoghurt starter culture
(Up to 100 doses per sachet culture)
Note: The amount of culture used for one litre is VERY SMALL.
Directions
- Add the milk powder to your milk and heat to 90 °C for 10 minutes, stirring constantly. Calcium chloride can now be added.
- Allow the milk to cool to 40° C. Add your starter culture and mix well to ensure the culture is evenly distributed.
- Pour your milk into the yoghurt maker. Maintain the milk mixture at a temperature between 37° and 43° C for 8-12 hours. For long
fermentation, leave for 24 hours.
If you are in a hurry and want to take a shortcut, you can use UHT (long-Life) Milk. As a result, you will not have to heat the milk to 90 °C and then cool it to 40 °C. I usually warm the Long Life Milk to 40° by placing the unopened packet in a sink of hot water for a few minutes while I gather the rest of my supplies.
The culture I use comes in a packet that does 100 litres. I do two litres a week, so the packet lasts me a whole year. I appreciate that it is a pure culture and that it costs me about 25 cents per batch, plus the cost of the milk. I hope
As always, live well.
Valerie
Hi Valerie
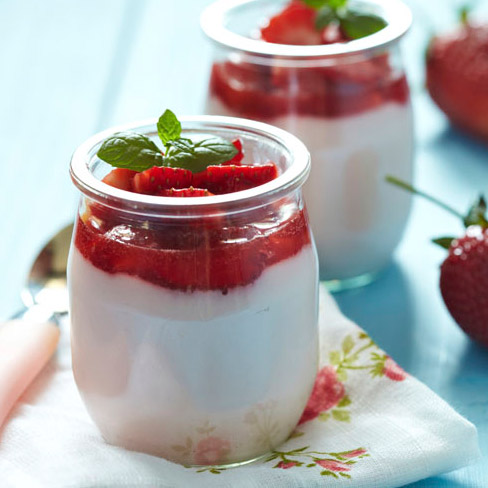
I love your blog page. I am a customer of Green Living and have the yoghurt maker and always make my yoghurt using their culture or I make Kefir. However, this query is out of the box, I was wondering where you can purchase the cute little glass jars that are pictured on your blog with the yoghurt in them?
Kind regards
Ange
Hi Angela:
Thank you so much for your support. These jars are Weck jars. They have them at Marcia’s on Montague. Have a look here: https://marciasonmontague.com.au/search.php?search_query=weck&Search=
I love this store. I can get lost in there and the staff are wonderful.
Valerie
Depending on your oven, you may have a thermostat that goes very low (40 degreess C) or bread proving facility. Our oven thermostat goes that low and checked with a thermometer.
Perfect for making yoghurt over night. Put it in at 6pm and is ready at 6am next morning.
I have been making it this way for a couple of years now and following Valeries s directions as in this article.
Perfect every time. I do use UHT milk.
Made our first batch of coconut yoghurt yesterday and we are very impressed. Better than the shop brands with more health benefits. Thick, creamy and very tasty. I dont like the commercial brand yoghurts due to the high amounts of sugar. This yoghurt is dreamy!
I made yoghurt using the mild yoghurt culture that I bought from Green Living. It made beautiful yoghurt especially with the added CaCl(2) . I think I used far too much culture as I am using it up too quickly. Do you have a rule of thumb I can use to calculate how much I need to use? I sometimes make 2l at once but more often 1l.
Thanks
Marie
Hi Marie:
Check out the FAQs on the Green Living Australia website. There is a section on yoghurt; How much culture do I use: https://greenlivingaustralia.zendesk.com/hc/en-au/articles/360036438854-How-much-culture-do-I-use-
You can also look at my YouTube video at the bottom of that page.
Valerie
Valerie, can you explain what a ‘sealed’ whisk is, please?
Hi Wendy,
A sealed whisk is one where the wires that go up into the handle are sealed in place. They are not loose and water cannot get up into the handle through the holes. This stops there being a whole ecosystem of microorganisms living up inside the handle and dropping into your yoghurt when mixing.
Valerie
i have a 2 litres FARMHOUSE GOLD full cream unhomogenised pasteurised milk, do you still need to heat that milk to 90 degrees?
Hi Veronique:
Yes, you need to heat treat it to 90 degrees to denature the proteins. This makes the protein stick together better giving you a better curd, making your yoghurt thicker.
Valerie
Hi valerie,
I received my my non dairy culture yesterday.
When i woke this morning, i had yoghurt!!
Which is so yummy!!
My question is i pretreated my woolworths brand uht soy milk to 90 degrees, or can i just heat to 40 in boiling water
Hi Jill, That is great to hear that you have made delicious yoghurt! When making Soy yoghurt it is best to heat your Soy Milk between 37° and 43° C and then place into a yoghurt maker along with your culture and smooth gel for extra thickness.
I have a multi cooker that has a yoghurt option. (40 degrees c). Can I use this instead of a yoghurt maker and if so, what is a good container to put the yoghurt into the multi cooker in. I was thinking a large glass container with a silicone lid. Would this work?
Hello Andrea,
Your multi-cooker should work, and the container you suggested should be fine. I would do a practice run with water and check the temperature a few times over a day to ensure it stays between 37 and 43 degrees.