If you have been following my Blog for a while now, you would know I like to DIY almost everything. I do this for several reasons. It saves me money; it’s better for the environment; I avoid nasty chemicals; and it’s fun. My Frankincense Face Cream is no exception.
The recipe below will get you about 150 mL of face cream. A quick Google search will show you some similar creams. I looked for ones with Frankincense, 150 ml, and it was about $90.00, with some being way more expensive. I popped all of these ingredients into the Green Living Australia shopping cart and came up with a total of $115.30. This is enough to make this recipe four times, which is equivalent to about $360.00 worth of product; even more if you went for a more expensive brand.
The whole process of making your own doesn’t take long. There is a bit of a wait while the Shea Butter cools down after melting, but that is a perfect time to make a cup of tea to enjoy while you get creative.
Equipment
- Double boiler (or something equivalent) to melt your Shea Butter
- Blender to stick blender
- Spatula
- Jar to store your cream
Ingredients
- One-quarter of a cup of Shea Butter (Get the 200-gram bag as it is a better value)
- Three tablespoons of Argan Oil
- Two tablespoons of Rosehip Oil
- 14 drops of Frankincense Essential Oil
- Seven drops of Rose Geranium Essential Oil
- One-quarter of a teaspoon of Vitamin E Oil
Step-by-step Instructions
- Before you start, ensure all of your equipment, including the jar in which you store your face cream, has been thoroughly washed and sanitised. You do not want any unclean utensils to contaminate your face cream. You are using all-natural ingredients with no chemical preservatives. Vitamin E, which is great for your skin, acts as a preservative to some degree, but cleanliness is vital.
- Using a double boiler, gently melt your Shea butter. If you do not have a double boiler, use a pot of water on the stove with a bowl on top.
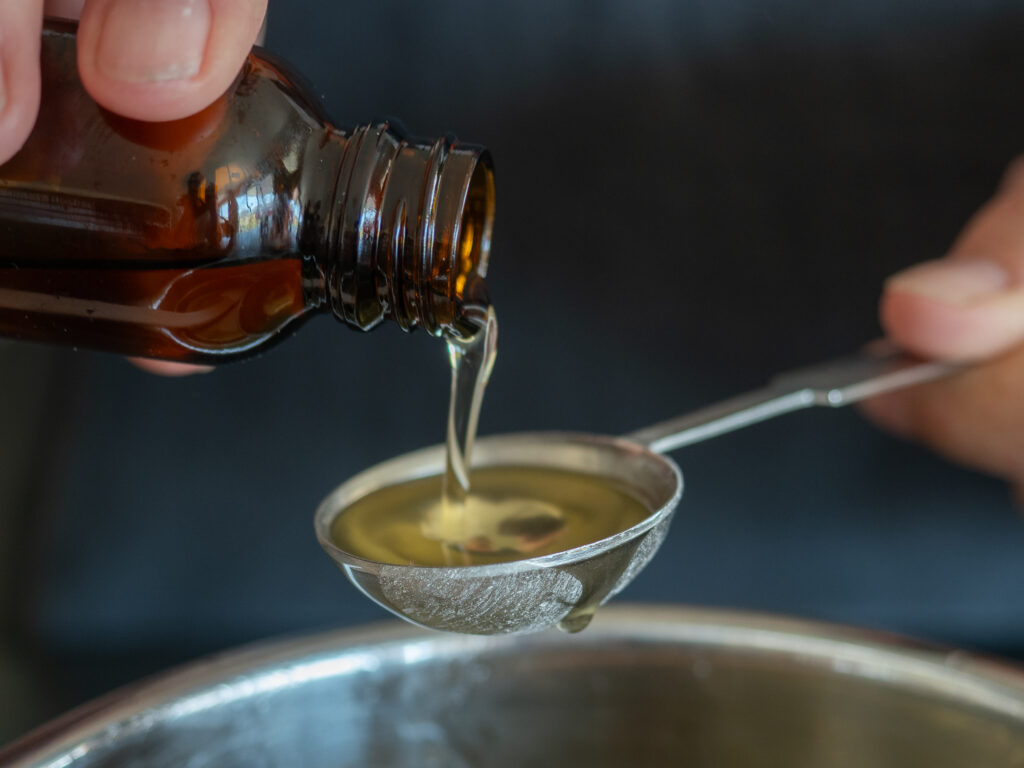
- Once the Shea Butter has melted, add your Argan Oil and Rose Hip Oil and stir until combined.
- You now need to cool this mixture to about 30 degrees. If you are going to use a blender, pour the warm mixture into the blender to cool. If you are going to use a stick blender, which is what I did, you can leave the mixture in the bowl or the top part of the double boiler. I will continue these directions with the stick blender.
- As the mixture cools, it will begin to become opaque. Do not let it cool too much and become solid. If you do, you cannot whip it with the stick blender.
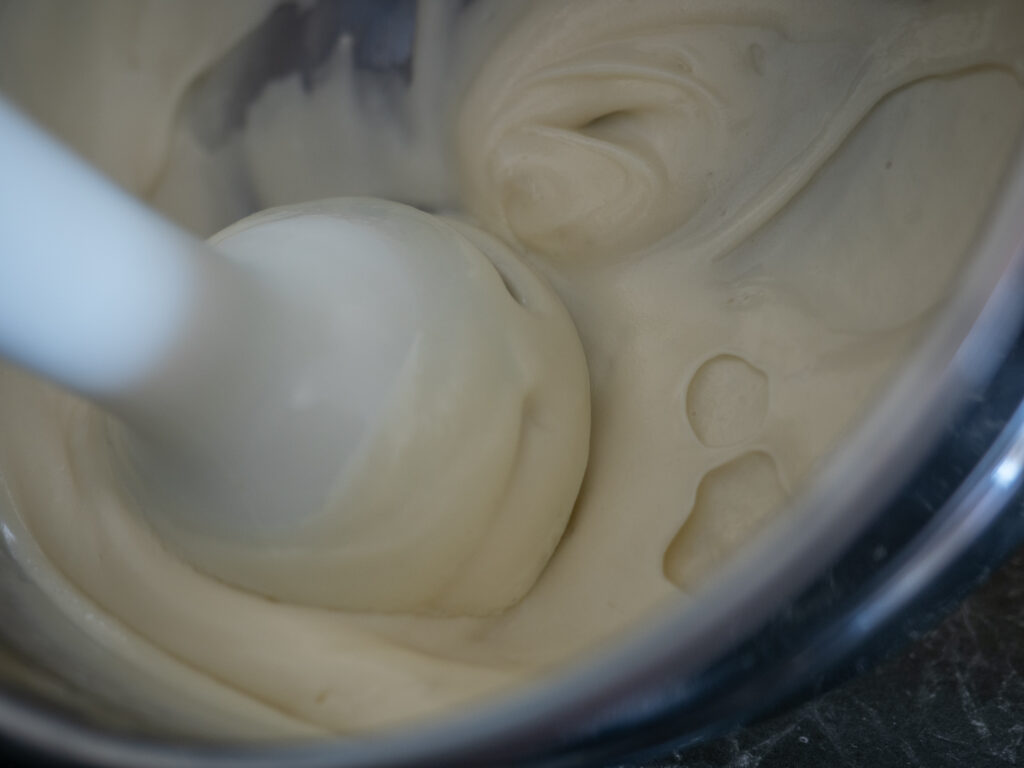
- Once the mixture has cooled, whip it with the stick blender for five minutes. You will see it change and become whiter, and the volume will increase as the oils emulsify.
- After five minutes of whipping, add the essential oils and vitamin E and mix well.

- Transfer the cream to your storage jar, using the spatula to get all of the cream.
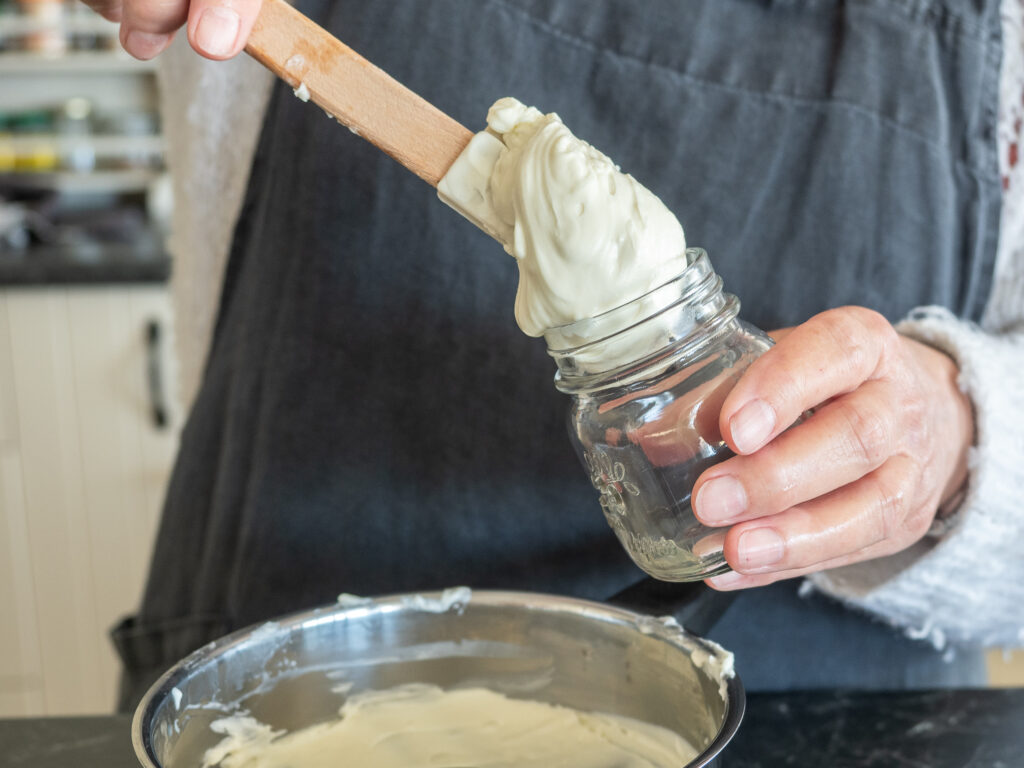
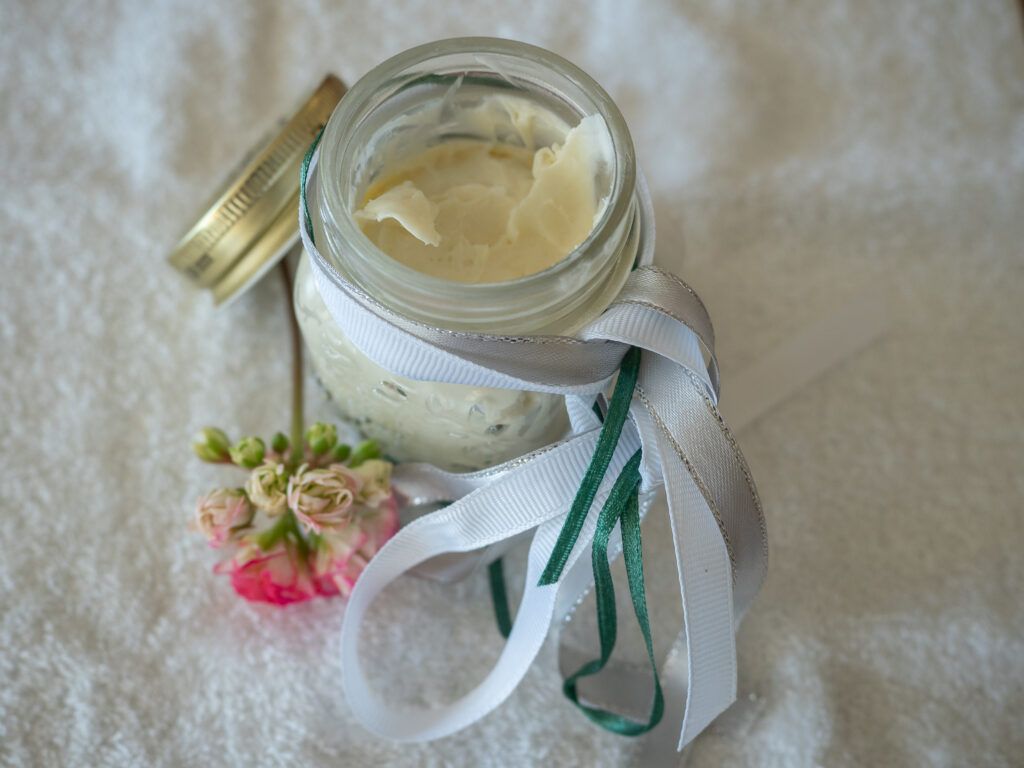
I use a 150 ml jar and fill it. This will last me several months and costs a fraction of what a similar quality face cream would cost if I had purchased it in-store or online.
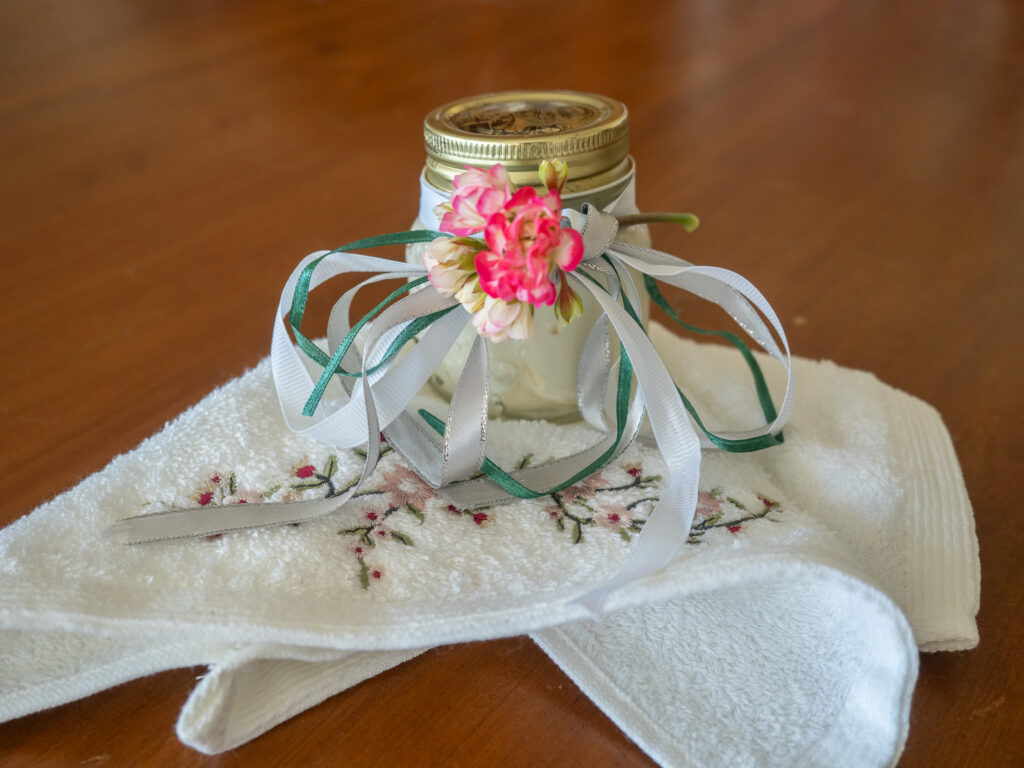
Dress the final product with lace or ribbon, and you have a sensational gift just in time for Christmas or another special occasion. Add a nice facecloth or even some soap you made.
I hope you enjoy this project. This cream is so good for your skin. Remember, your skin is your first line of defence. Take care of it.
As always, live well.
Valerie
I can’t wait to make this face cream
I’m a bit confused about the quantity of shea butter. I used 1/4 cup and was just wondering from the recipe the 250gr packet was recommended. My batch didn’t emulsify. Thanks Linda
Hello Linda.
I recommended the 200 grams packet, as it is much better value than purchasing a small amount. I have added that information to the blog. If it won’t emulsify, it is still too warm. It needs to cool down and be opaque in colour and beginning to harden. You can’t whip it in its oil phase as it will not come together. You might need to pop it in the fridge for a bit as it is summer and very hot.
You have 30 degrees that can’t be right it is solid?
Yes, 30 degrees is the temperature I cooled the mixture to. Due to the addition of the argan oil and the rosehip oil, it was starting to become solid, but not all the way. Shea butter is a natural product and can vary batch to batch, so if you need your mixture to be slightly warmer to be partially solid to ship but not fully solid, you can increase the temperature slightly. Try 32 degrees. It won’t whip properly if it’s too warm and still liquid. Hope this helps.
Very, interesting. I have purchased a large bottle of Frankincense and wanted to use it on my face, can I use it with just one other oil?
All essential oils can be mixed with a carrier oil and applied to the skin, but you must ensure that the amounts are correct, so that the strong essential oils do not damage the skin. While essential oils are beneficial, too much can be harmful.
Can you make it with a bees wax and shea butter base? If so do you hea5 those then add the pils then blend? Im worried the heat will harm the oils
To see if a new formulation works, you would have to experiment and see how you go. I usually make a formula several times to perfect it before I publish it and you would have to do the same. I can’t tell you how your idea would work without trying it out. I can tell you this recipe works great and I use it event day.
Hi Valerie, can’t wait to make this cream, I’d like to make a larger batch to share, will multiplying the ingredients work just as well? I make infused oils and balms, but never attempted a cream as I’ve heard it can be very difficult to get it to come together, perhaps I should try a small batch first.
Hello Liz,
I would try a smaller batch first, but I see no reason you cannot do larger batches. I have never had a problem with the emulsification using this formula.
Hi Valerie, I made a small batch today, turned out really nice, though I can see air bubbles in the jar, I think I’ll use a piping bag next time, thanks for sharing such a lovely recipe.