The weather is getting cooler here on the Granite Belt in SE Queensland, and the wind has been blowing. I still love to be outside in the garden, but I need to take care of my skin in this weather, especially my lips. Time to hit the kitchen and whip up a batch of super protective, moisturising, Shea Butter Lip Balm.
I am using the Green Living Australia Shea Butter Lip Balm Kit. This kit is fast and easy to use. The lip balm can be made plain, or you can add colour and flavour. I like to add a touch of honey to mine.
Equipment
- 2 x small jars with lids
- 4 x lip balm tubes
- Medium-sized, glass/stainless steel, mixing bowl
- Spatula
- Pyrex measuring jug
- Mini Measuring Spoons
Ingredients
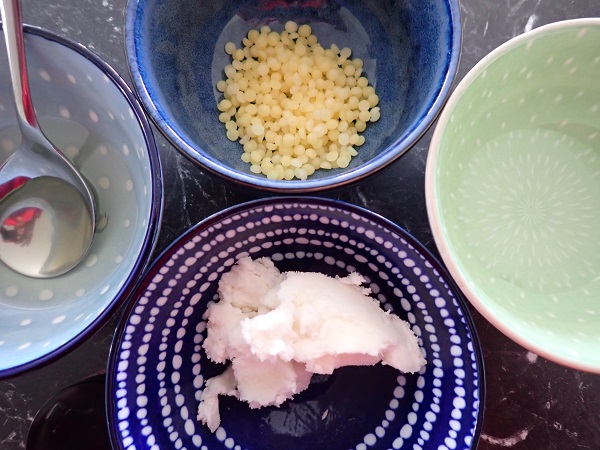
- 25g Shea Butter
- 25g Vegetable Glycerine
- 25g Castor Oil
- 15g Beeswax
- 5 ml Vitamin E Oil (optional)
- Coloured Mica (optional)
- Natural flavouring (optional)
Instructions
- Fill your medium-sized pot with water and place it on medium heat to bring your water to a gentle simmer. (I am using a small double boiler.)
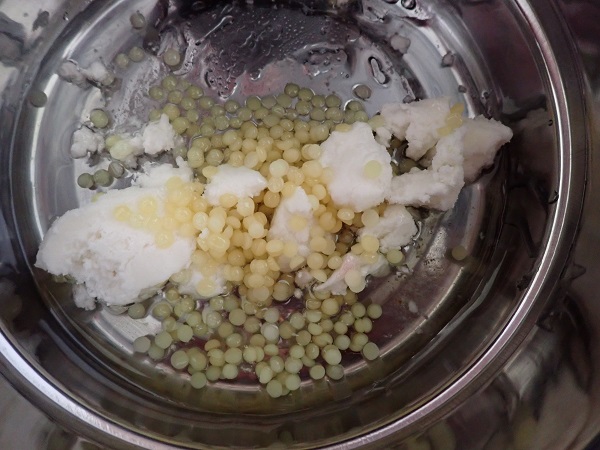
- Place your wax, Shea butter, Castor oil and Glycerine into your bowl and set it on top of the pot of water to indirectly heat your mixture. Using your Spatula, stir until the ingredients are all melted and evenly combined.
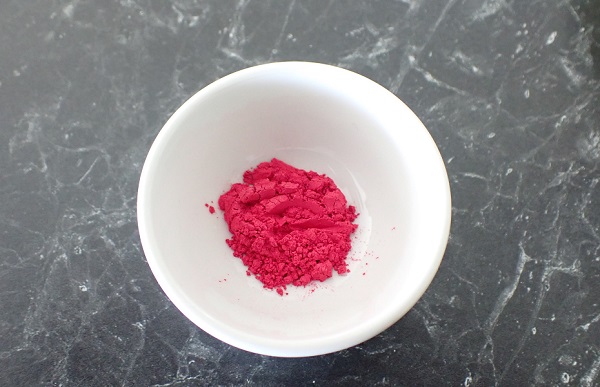
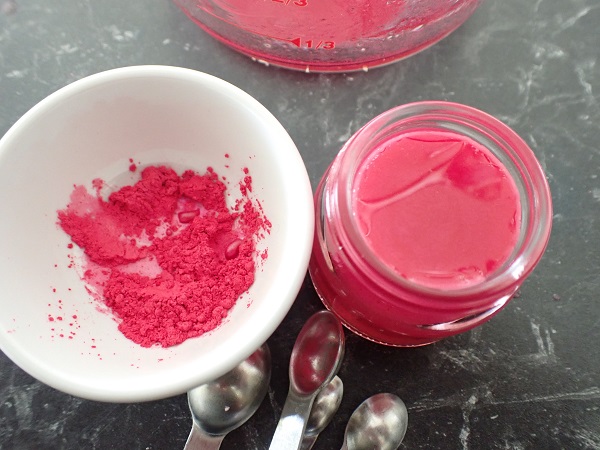
- Once the mixture is melted, you can now add in your optional natural colours and flavours. Try one of the many colours in our range of lip-safe mineral Micas for colour. Try adding 1 Tad (1/4 of a Tsp) of Mica for a Lip Tint or 2 teaspoons of Mica for Lipstick. You can also add your optional Vitamin E in this step. Ensure all ingredients are combined.
- Transfer your mixture into your Pyrex measuring jug, using your spatula to scrape the mixture out of the bowl. It is best to move quickly at this stage to ensure your mixture does not cool down too much, which will make it harder to pour. If your mixture has started to solidify in the jug, you can reheat the mixture by placing it in the microwave for 10 seconds or by placing your jug into the hot water bath you created in step 1. If you do need to reheat your mixture, you will need to stir your mixture again before pouring to ensure your ingredients are evenly combined.
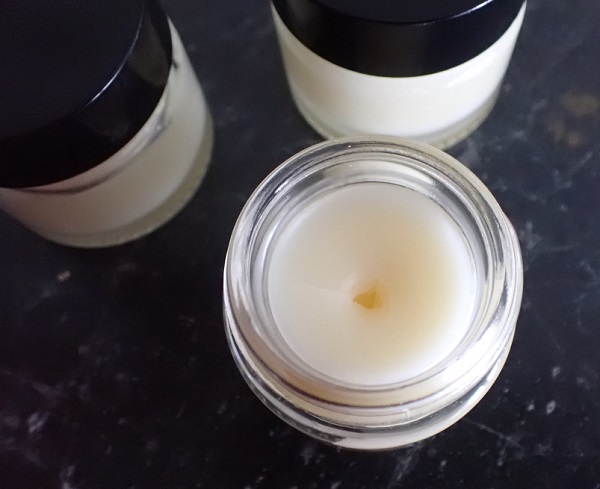
- Pour your mixture into the 2 small jars and the 4 lip balm tubes provided. Before pouring into the lip balm tubes, ensure to twist the bottom so that the base is at the bottom of the tubes. When pouring into the lip balm tubes, you must tap the base of the tubes to ensure all the air bubbles are removed. If you have any of your mixture left over, store it in an airtight container for later use.
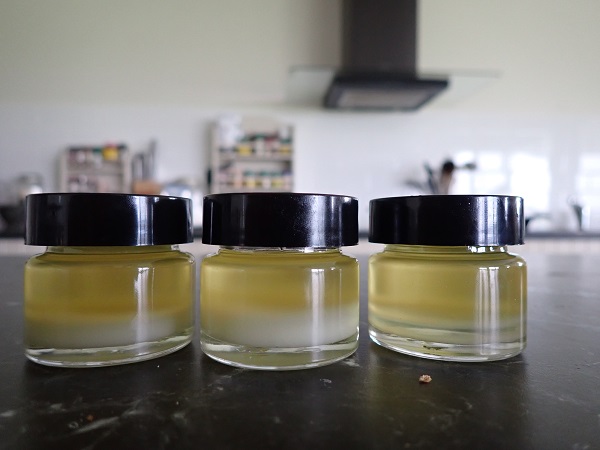

- Put the lids on your containers and leave them to solidify on the bench for approximately 4 hours or until hardened.
Storage
Store below 32°C and out of direct sunlight. This lip balm recipe will typically have a shelf life of 12 months. You can extend the shelf life of the lip balm by adding 5mls of Vitamin E to the recipe at step 3. Vitamin E is a natural preservative and is also great for assisting in providing smooth and soft lips.
Remember: When adding colours, less is more. You can always add more Mica to your recipe, but you can’t take out what you have already put in it.


This is such a great project to do. It gives you loads of lovely lip balm, it’s great fun, and it saves you money. get creative, have fun, and DIY.
As always, live well.
Valerie